Published by Jeremy.
Disclaimers: We use demographic data, email opt-ins, display advertising, and affiliate links to operate this site. Please review our Terms and Conditions for more information. This website is intended for those of legal drinking age in your jurisdiction.
It has been a dream of mine for many years to build a basement wine cellar, and after ogling various wine racks and designs online, I finally got it together and built my DIY wine cellar.
Instead of going for the ornate and elegant route, I opted to go for practical and affordable and ended up building a 168-capacity wine rack for about $225 (which could've been up to 192 bottles for $250 if I had more space). In this guide, I wanted to share how to build a wine rack for those looking to keep it affordable!
Note: Prices may have changed since our initial publication.
The Ideal Conditions for Home Wine Cellars
Many resources exist talking about the ideal conditions for a wine cellar. These often include conditions of temperature between 50-60°F (max 68°F), a dark space especially without UV light, 50-70% humidity, keeping bottles on their side to maintain a wet cork, reducing vibrations, and the like. There is little insight we can provide into these widely accepted facts, although depending on which expert you look at the acceptable range may vary here or there.
While the exact conditions that are considered ideal vary slightly, what most every source agrees on is having consistency. Temperature swings, humidity swings, and the like can all have an impact of the quality of your wine over time. If there is one thing homes are not known for, it is consistency in these categories.
The unfortunate truth is that those looking to build a wine cellar at home are at the mercy of their own house, and you would do well to determine if you are able to provide these ideal conditions consistently year-round. (Later in this guide, we'll recommend buying a digital temperature and humidity gauge. If you are concerned, it doesn't hurt to buy one, monitor your conditions over a year, and then go from there.)
For us, we have a finished basement that is half exposed on a hillside. While the temperature is somewhat regulated, it is not as cool as other fully-underground and unfinished basements like we have seen nearby. As such, we waited to build our basement wine cellar until we installed a mini-split air conditioner that we keep between 62-68 degrees year-round.
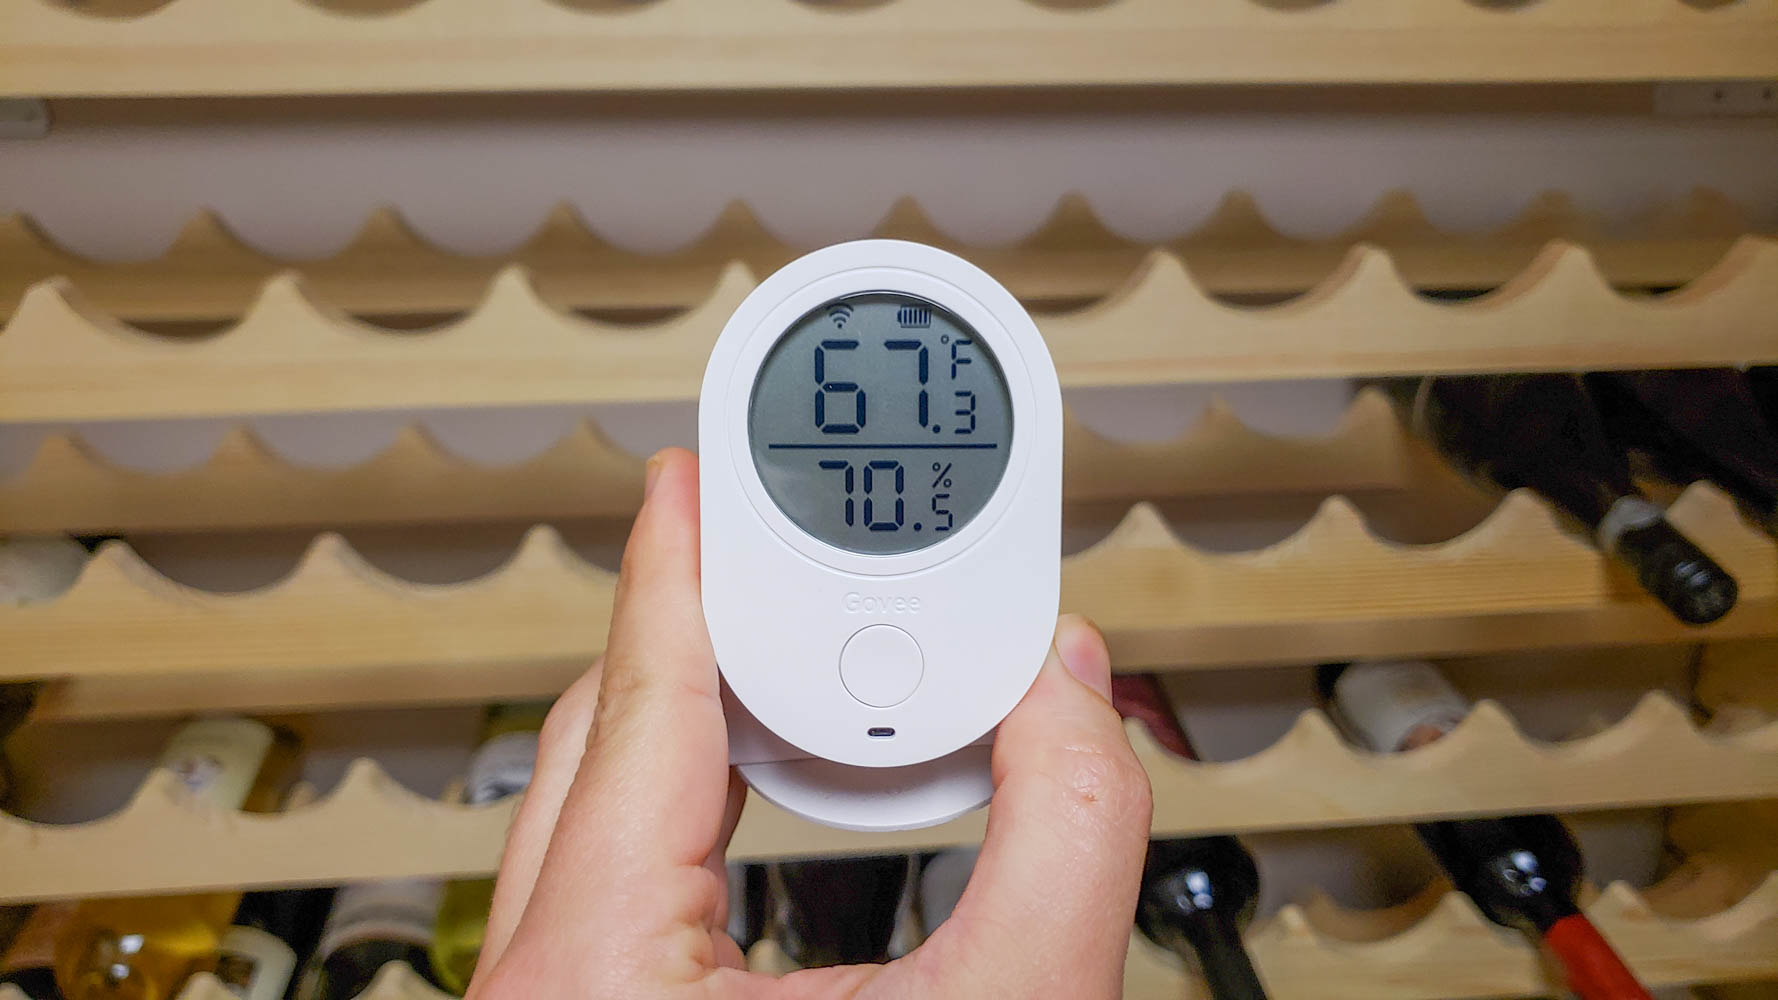
Is this ideal for cellaring wine? No. But it is not awful, either, and certainly checks the consistency box which is most important to us. Beyond this, our basement closet is quite dark, has 60-70% humidity with the air conditioner running, is distinctly separated from heat-generating equipment like our furnace, and the only thing we needed to do from there was to build a storage rack to keep our bottles horizontal.
The rest of this guide focuses on how we used cheap wine racks to build a massive cellar capacity!
How to Build a DIY Wine Cellar – What You Need
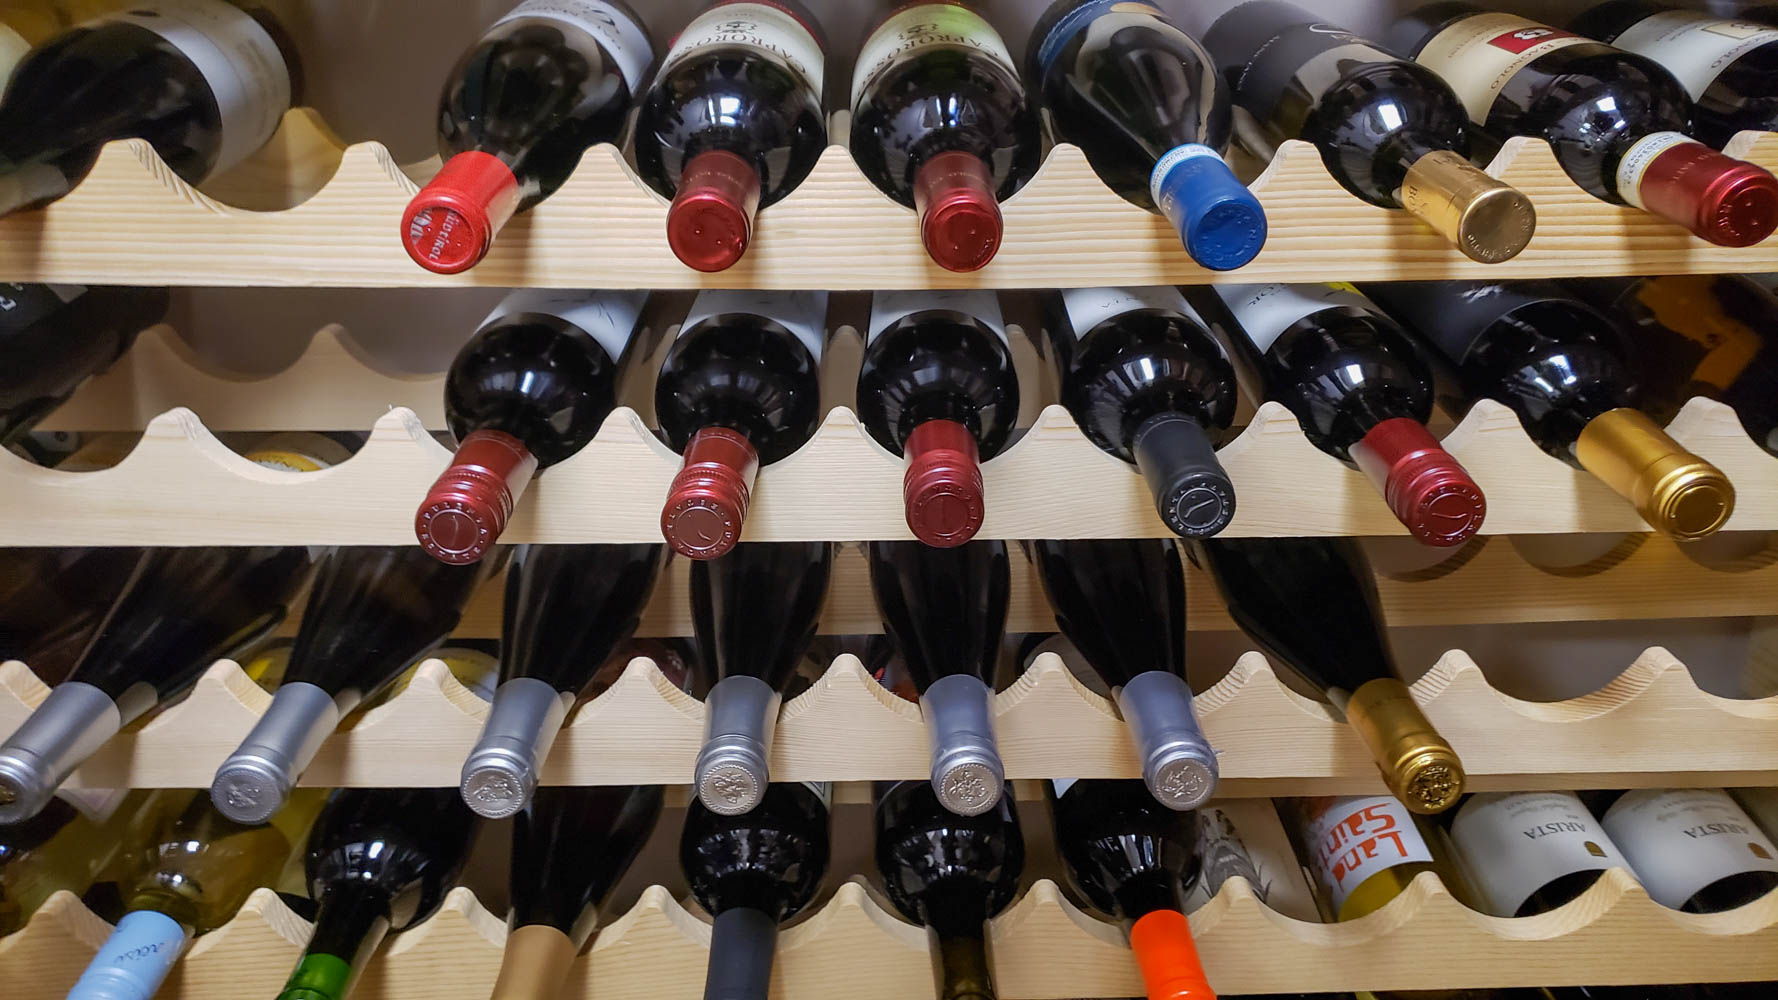
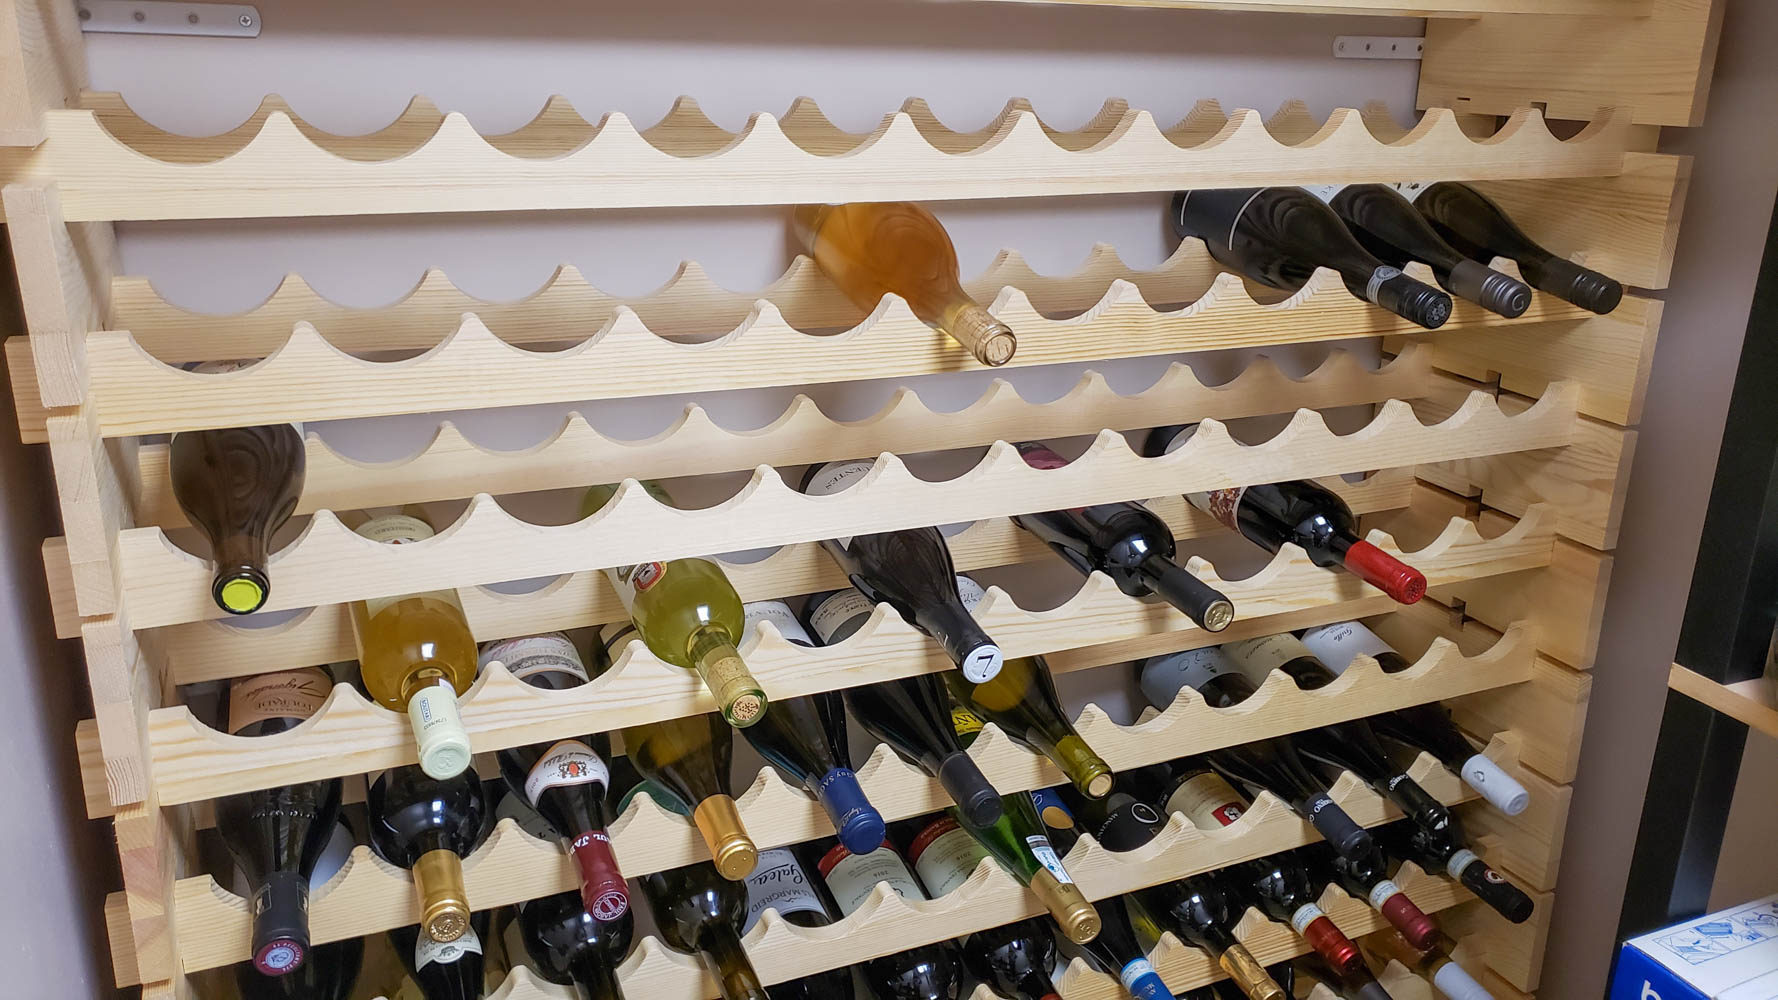
We decided to go the cost-effective route in building our wine cellar, and we found a stackable pine-wood rack on Amazon that fit the bill nicely both in terms of price and size for our wine closet. The company offers multiple configurations including racks with 6-bottle width, 8-bottle width, and 12-bottle width which gives a lot of flexibility for your ideal space. We purchased a 72-count of the latter (six rows, about $60 when we purchased) and later a 96-count (eight rows, about $80 when we purchased) as the width and vertical height was perfect for our closet.
If you have higher ceilings, you could possibly get away with two 96-count units to reach the 192-count capacity mentioned at the start of this guide; however, your mileage may vary on available space (any reduction in volume will result in slight cost savings- hooray!). Our capacity ended up being a still-respectable 168 bottles.
To be honest, we weren't sure of the quality of this one when we first purchased it as the unfinished pine wood racks looked more like stackable Lincoln Logs than they did as being worthy of securely holding several thousand dollars worth of wine. Still, the plethora of amazing reviews on Amazon had us sold and we first purchased the 72-count rack as a test run.
True to the reviews on Amazon, the wine rack arrived in a very compact box, we assembled them in just a few minutes, and quickly loaded our wine on. There were no wobbles, no movement, and it seemed to do the job. There was only just a slight flex when pressing on the wood ourselves (but, again, nothing noticeable due to the wine).
This setup held our wine for a few years and we were pleased. Finally, our collection of wine hit the 72-count limit and we decided to expand with the 96-count rack to greatly increase our capacity. The great thing here is that the racks are still stackable, so we just kept building vertically to reach our final 168-count capacity.
- Some purchasers of this wine rack like to stain it to appear more professional. We admit that the unfinished pine color leaves much to be desired. However, as this was going in a basement closet likely unseen by anyone other than us, we skipped this step. Our $250 budget likely includes a small allocation for wood stain. This would best be done before any assembly so you would want to commit to that upfront.
This is where some fun began as, generally speaking, any heavy vertical storage unit like this should be anchored down during the wine cellar installation process.
I suspect that the weight of the wine pushing down would hold the overall unit in place in most cases. But it is possible that any force added horizontally (such as a bottle getting stuck when pulling out, an earthquake if you live in such a region, etc.) could generate some outward movement that, in a not-unrealistic scenario, could contribute to tipping.
Much like many of the reviewers on Amazon, I decided to anchor the rack down into the wall to be safe (a small price to pay to protect several thousands of dollars worth of wine).
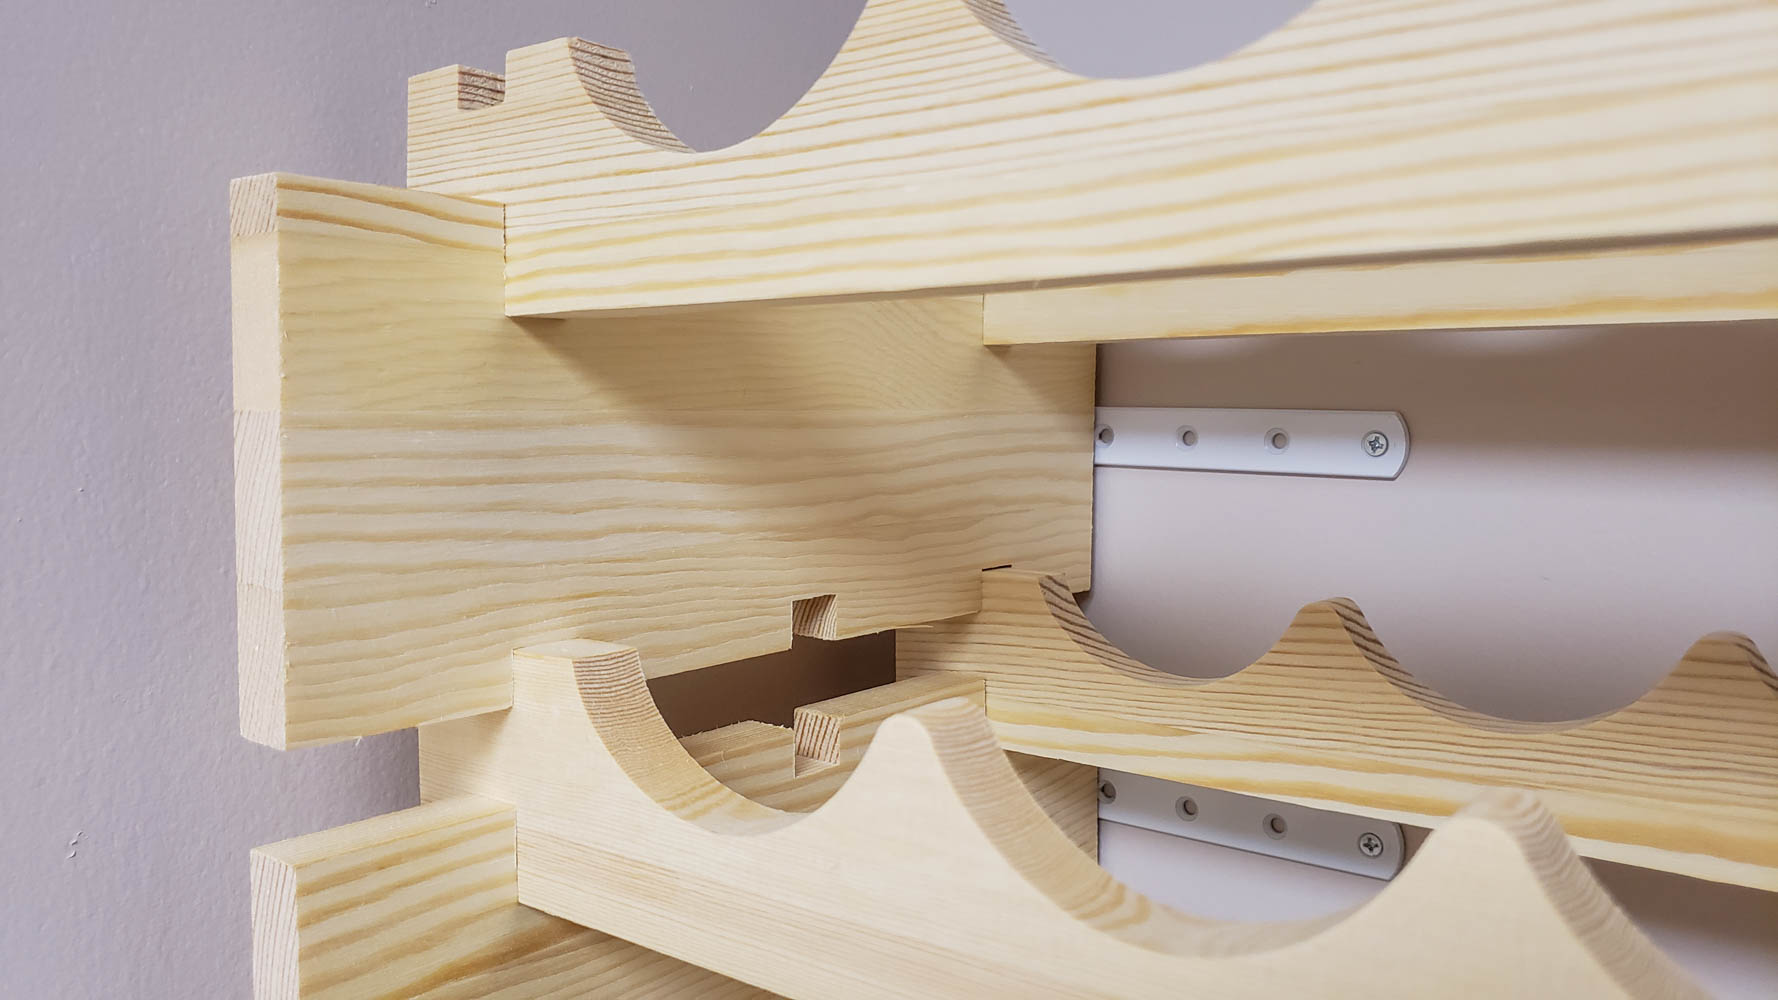
For this task, I used L-shaped brackets (~$25) to anchor every other side piece to the wall, plus one in each of the top three rows for good measure. This resulted in a very firm rack on our wall that was not going anywhere. (I used about six pairs of brackets which are rated for about 200 lbs of total weight- 35 lbs per pair. Not enough to secure the weight of the wine, sure, but seemingly ample for horizontal forces that might contribute to toppling.)
From there, we installed a wifi-enabled temperature and humidity gauge to monitor cellar conditions on our phone wherever we are. Cheaper Bluetooth-only options exist as well, but you have to physically be in range to receive the data. A slight increase in spending goes a long way here.
Easy!
- At the time of publishing this review, we've filled our cellar with about 100 bottles out of the 168 spots available and have no complaints. If we fill our cellar more, we may update accordingly.
A Few Downsides to This Unit Worth Noting
Now, this wall unit is not without its faults and I would be doing you a disservice by not talking through those as well.
First, and perhaps most importantly, is that the spacing between the rows is approximately 3.5 inches (88.9 mm). Some bottles that are exceptionally wide (bottles of Burgundy, some Chardonnay, Champagne, etc.) are often this exact width. In my experience, whether they fit varies on a row-by-row basis, often based on how many bottles are on that row and the one above it (likely due to a slight compression). As such, most of these bottles live in our wine fridge to not force them in and out of the wine rack.
If you collect wines whose bottles have larger maximum widths, this wine rack may not be for you. The vast majority of our wines fit without a problem.
Second, each piece of the wine rack has notches so the next row can subsequently interlock in place with a nice, secure connection. Every piece, that is, except the very top one which is flush across the entire length (my guess is to make it look a bit more pleasing aesthetically). If you look to purchase two units to stack on top of each other, you will not get a perfect connection with two rows.
As there are no instructions highlighting that these rows are the top pieces, you may want to find them and put them aside to use at the end. But in having two rows at the top that aren't perfectly locked into place, it feels a bit loose (and I don't have the necessary tools to carve out a notch myself). As such, I put an L-bracket on each to help secure them to the wall and restrict any potential movement. They do not move with bottles on them so far, but out of an abundance of caution, I have decided not to max-out my top rows any time soon- my wine cellar construction ended here.
As a bonus, the lack of a notch on these rows means they are spaced out just a bit more as a result and do fit the larger style bottles mentioned above. However, I am still a bit suspicious about overloading them too much (although I have had the entire row full at times without issue, sofar at least).
Finally, the interlocking connections can be, at times, quite snug. I found myself putting a not-insignificant amount of force to get some rows to fit together and broke off the top connecting notch on two pieces as you can see above. Thankfully, these were still able to be utilized as my top row.
So, mentally, you may need to be prepared for the possibility of losing a row or two due to breakage when assembling. Note that I have not reached out to the manufacturer regarding replacement possibilities as it was unnecessary in my particular case.
Overall, I would be hesitant on recommending expanding the way I did (buying one rack and then another a few years later) as I had to take my 72-count rack apart to anchor it in place before adding more rows on top. So if you want a bigger storage rack, it may be best to do it all at once when you first build a home wine cellar as not to put unneeded stress on the interlocking pieces. This is a minor concern, but a concern worth stating all the same.
Ignoring the caveats mentioned above, I'm quite pleased with the wine rack. For less than $250 we built a 168-capacity wine cellar, with wall anchorings and a wifi-enabled temperature/humidity gauge. And if you have a bit more room or want to make your rack look a bit more elegant, this budget should also cover you for the full 192-bottle capacity as well as stain.
But for now, we'll take our slight cost savings for the lower capacity and use it for what we do best- buying another bottle of wine!
If you would like to build a wine cellar like the above, you'll need the following:
- 72-count or 96-count wine rack (or both)
- L-shaped brackets
- Wood stain (optional) and brush
- A power drill
- A wifi-enabled temperature and humidity gauge
- Up to 192 wine bottles
Have you installed a wine cellar in your home? We'd love to hear what you used and how much capacity you have!
Upgrade Your Home Wine Bar
Need to upgrade your wine bar? Grab some new wine accessories:







Great post. I did a similar thing, in a small 1/4 basement of my house in Sacramento. 109 bottle capacity. The main difference is I enclosed the shelf in a super-insulated, rigid foam box. Documented in https://talentedamateur.org/2023/01/20/three-generations/. I’m into my 5th year of my “box”, and am starting to enjoy more aged wine. The one truism of cellaring: everyone wants more storage than they have…
It is so true. We actually doubled our capacity a little while back, filled it, and now I need more storage. Whoops!