Published by Jeremy.
Disclaimers: We use demographic data, email opt-ins, display advertising, and affiliate links to operate this site. Please review our Terms and Conditions for more information. This website is intended for those of legal drinking age in your jurisdiction.
We have always had a love of floating wine racks. These unique wall-mounted wine racks are popular in trendy wine stores and restaurants as the minimalist design shows off the bottles above all else.
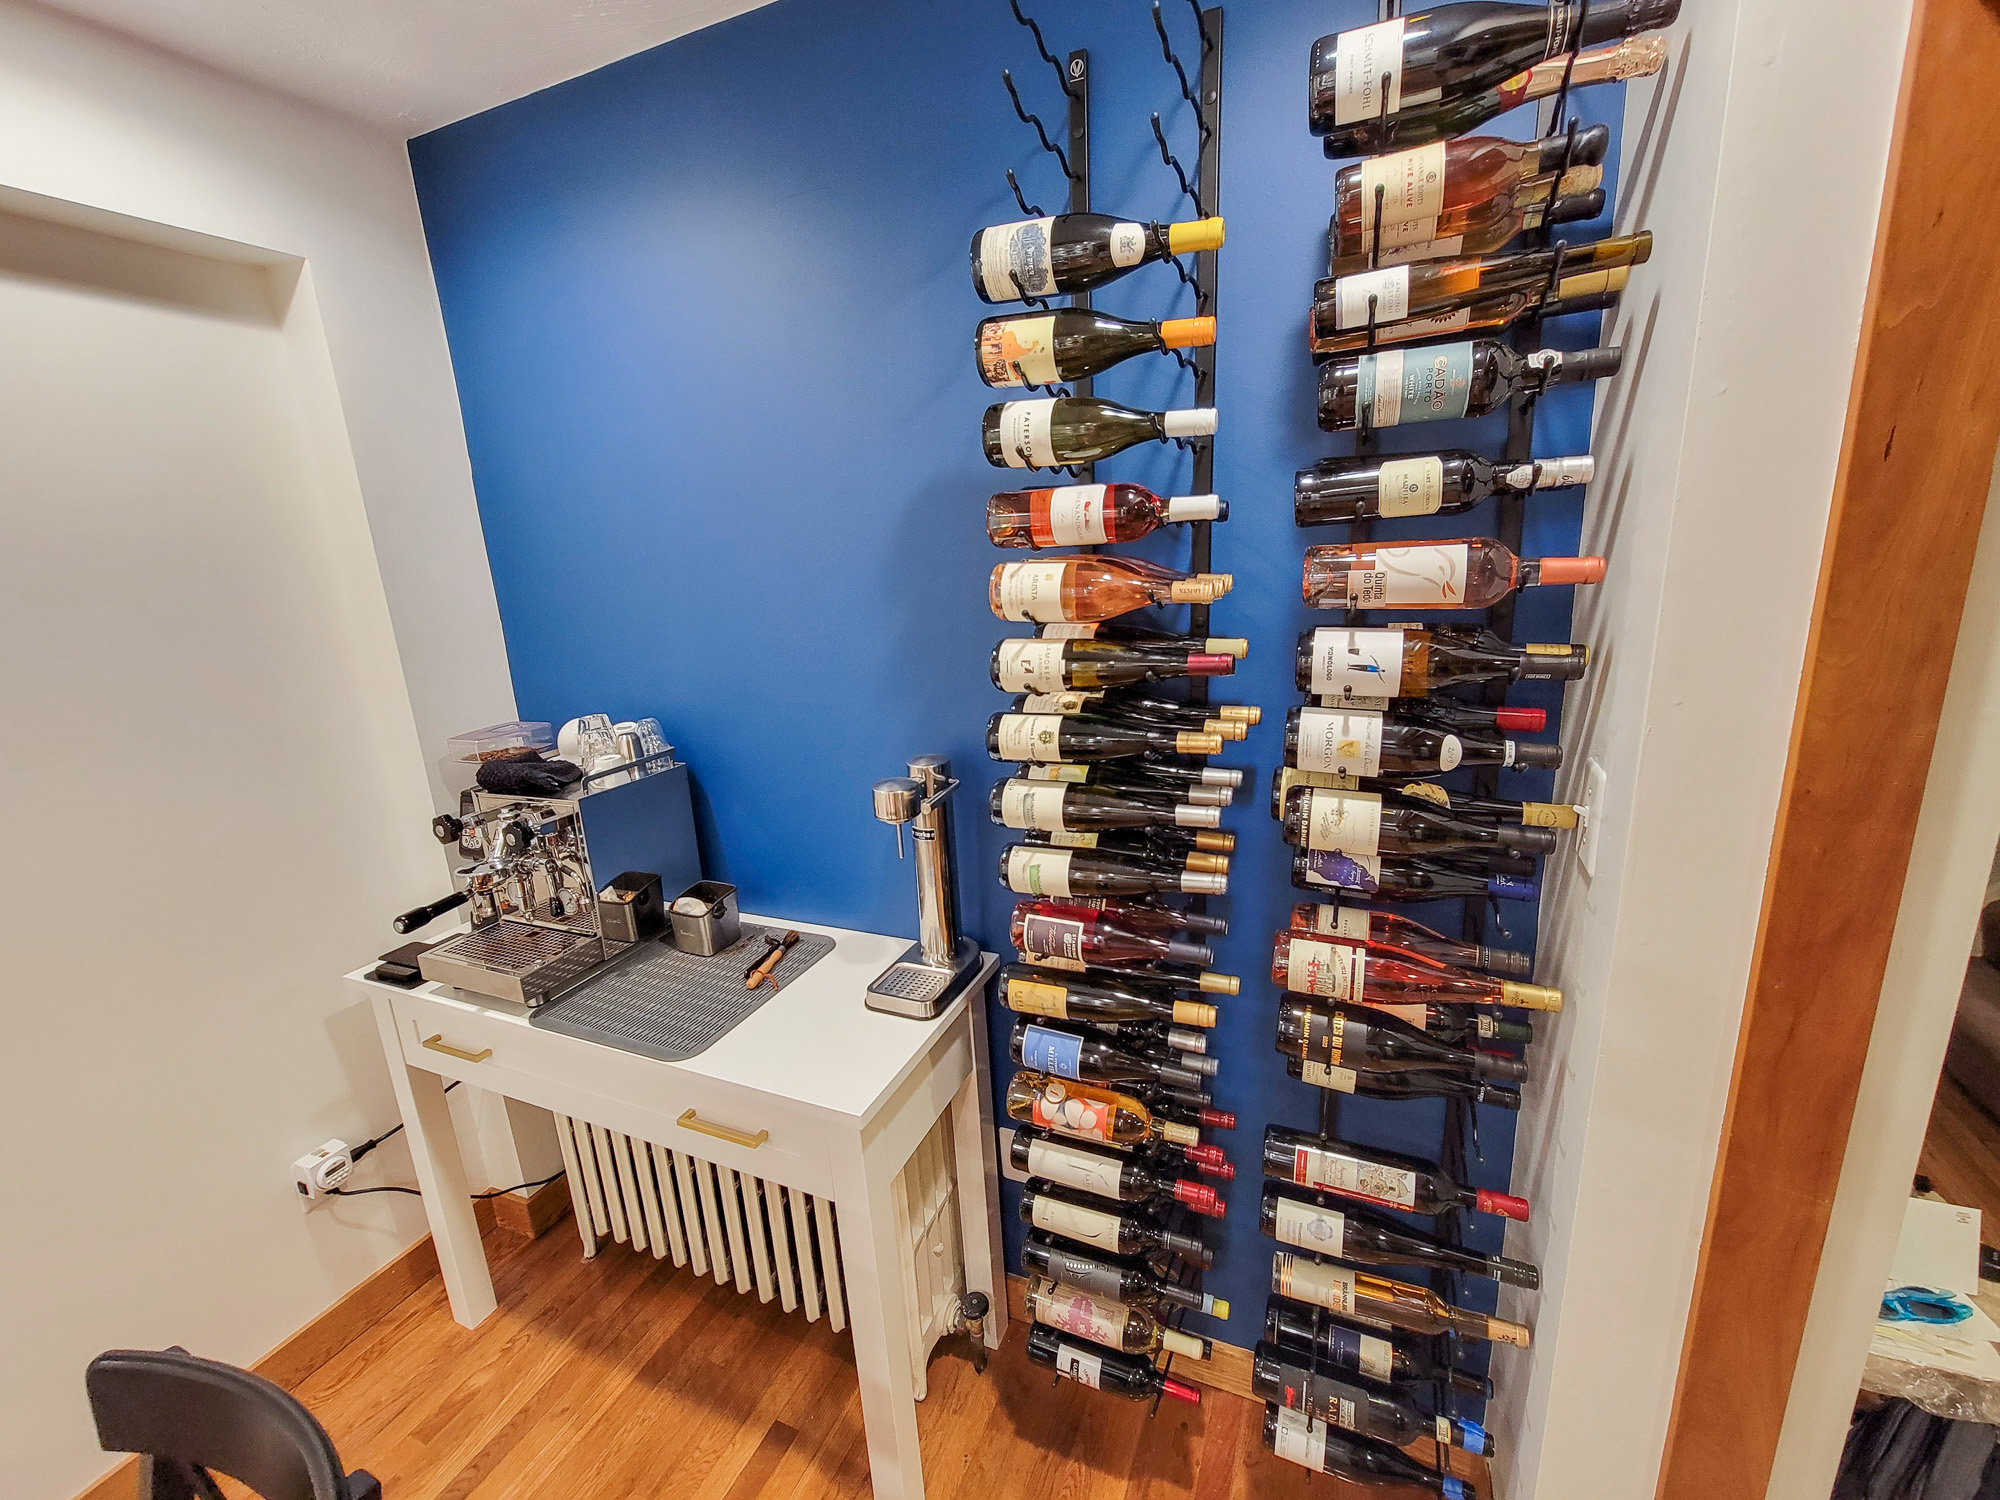
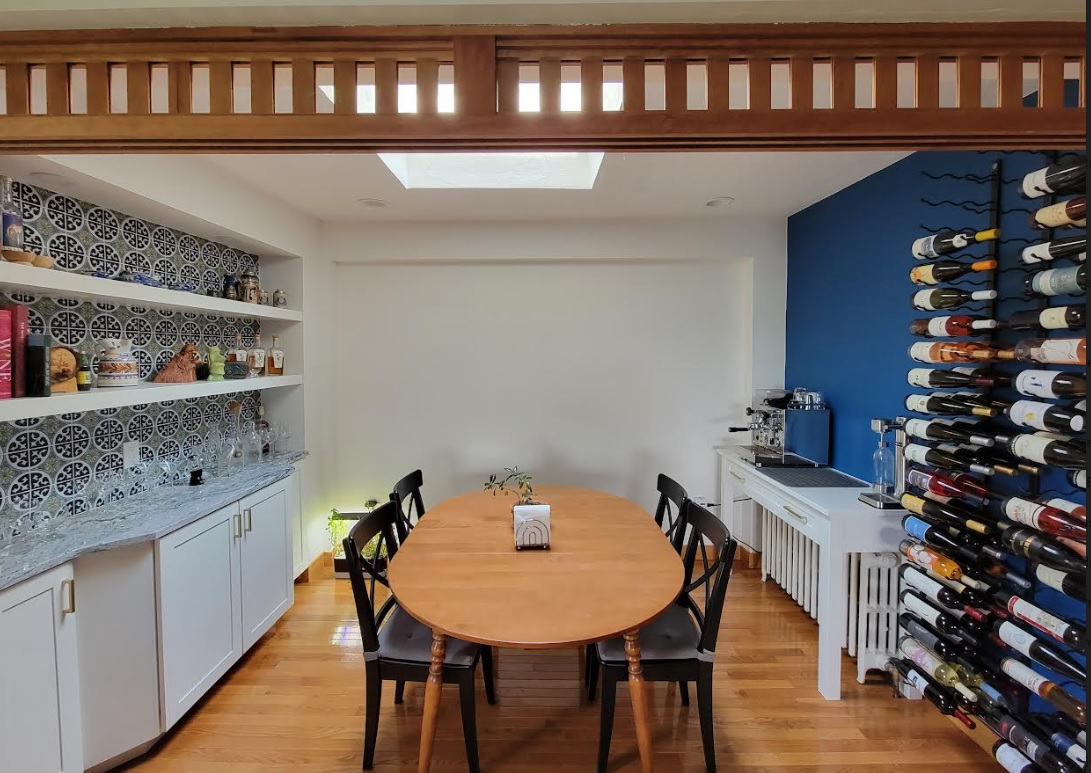
When we renovated our home bar/dining room, we knew we had to add these gorgeous wine racks to have quick access to our daily drinkers and free up storage room in our proper wine cellar used for aging bottles in our basement. As part of our research into floating wine racks, we discovered the stackable VintageView wine racks, fell in love, purchased four for a 126 total bottle capacity, and didn't look back.
Although we'll be the first to admit that these were somewhat difficult to install, we love the beauty they bring to the room!
Show Off Your Wine with VintageView Wine Racks
VintageView's floating wine racks are as functional as they are beautiful.
The customization options in this series are unrivaled simply because they offer many sizes, styles, and capacities. As part of our research, we saw that they had racks available for single bottles, one-foot tall, two-foot tall, three-foot-tall, and even four-foot tall racks. Many of these also came in configurations where you could also have one, two, or even three-bottle deep rows as well- giving numerous design considerations for all decor goals.
Naturally, we had to go for the tallest, deepest options to get the biggest volume for our limited corner space.
As VintageView wine racks are stackable, this meant we were able to buy two four-foot and two three-foot, three-bottle-deep wine racks and stack them into a behemoth storage wall that ran almost the entire way from our floor to ceiling. This took our roughly three-foot-wide by seven-and-a-half-foot tall space and added a stunning 126 bottles out on display.
Not a bad collection for our daily drinkers at all!
After installing, 70 or so bottles that we have no intention to age were moved out from our basement cellar, clearing out space for more ageable wines in the future, and we now have an absolutely stunning home for bottles of wine that are both being shown off and in easy reach for consumption no matter the reason. A win-win!
Now, it would be simple for us to say “we love these wine racks because they're beautiful and functional,” but, honestly, you probably already knew that. Instead, for this review, I want to focus a bit more on the quirks of installing these wine racks. While they were a bit tricky to start, once you find your groove you will be on your way- if your leveling abilities are good enough, at least!
- Note: You may have noticed that our floating wine racks are near a radiator. Yes, that radiator is on during the winter. The winter before buying these wine racks I measured the temperature drop from the radiator with a temperature gauge from our wine cellar and it was sufficient enough at just a foot or so that I am not too worried about any wine spoilage. But, as a precaution, the bottom racks are still being used for cheaper bottles all the same.
Installing Takes Some Planning, Measuring, and Leveling
If there is a downside to having floating wine racks, it would be that installation was somewhat tricky compared to other wine racks we've installed in our house.
I admit that most of this is on me simply because I do not do too much wall mounting beyond an occasional picture frame. That said, since I found it somewhat frustrating, I figured it would be worthwhile to share why.
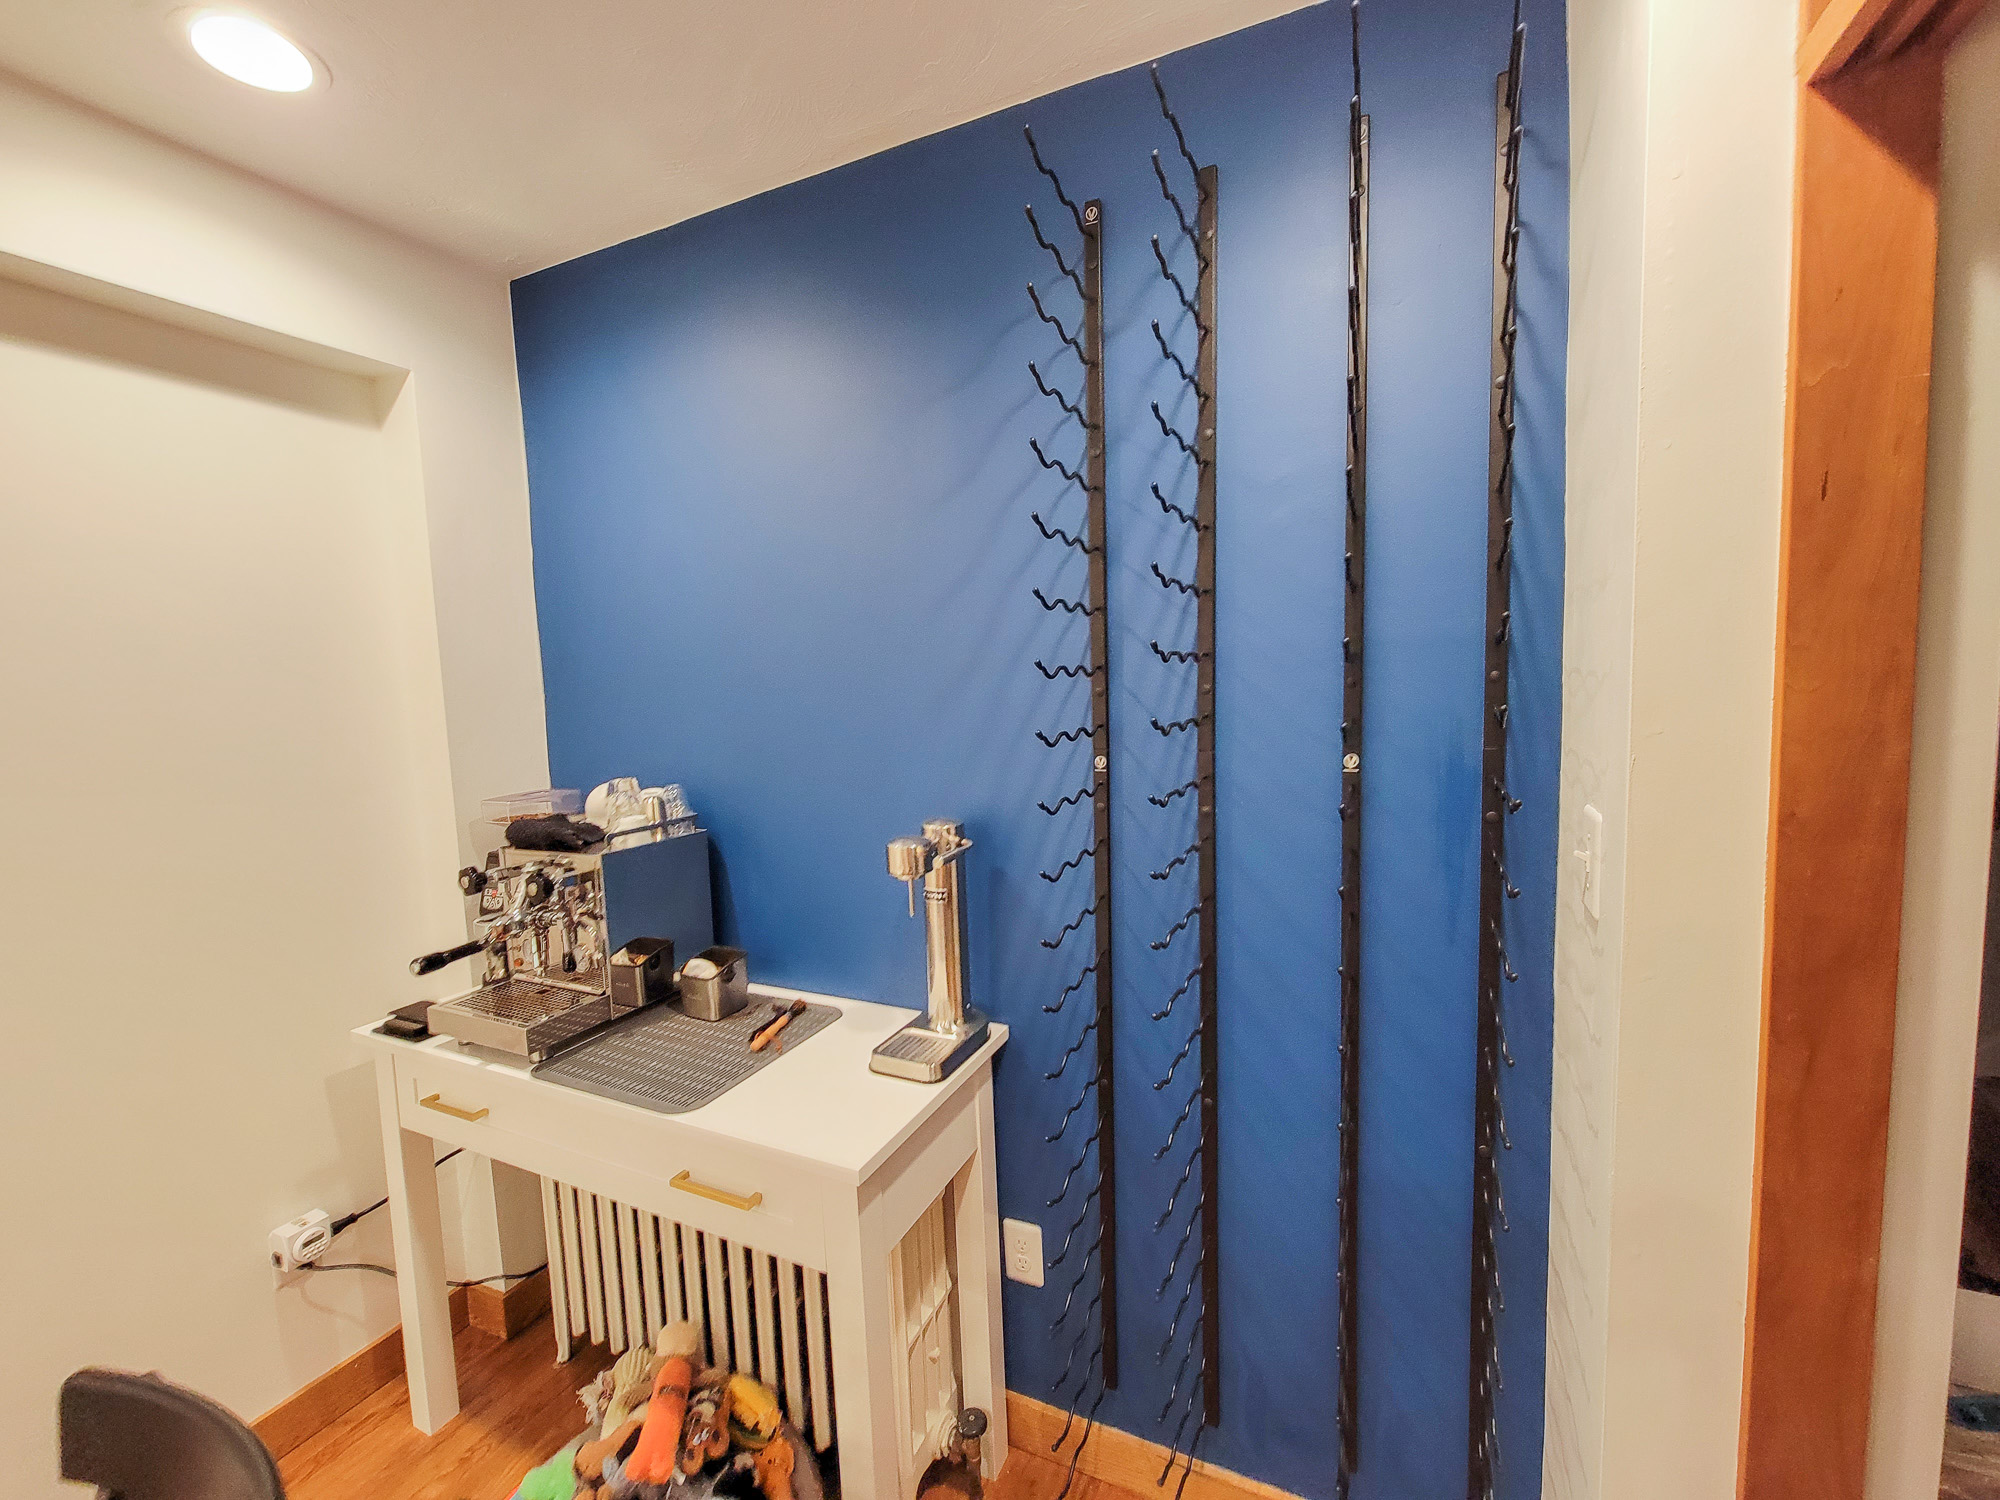
Ultimately, this was challenging because you are installing two vertical bars that are not connected. The bars must be vertically leveled as perfectly as possible and spaced a fixed distance apart to hold your bottles. This distance is variable based on the bottle size and racks you are installing (e.g. magnum racks vs 750 mL vs 375 mL), and ultimately this was more of a precision install than I am otherwise used to.
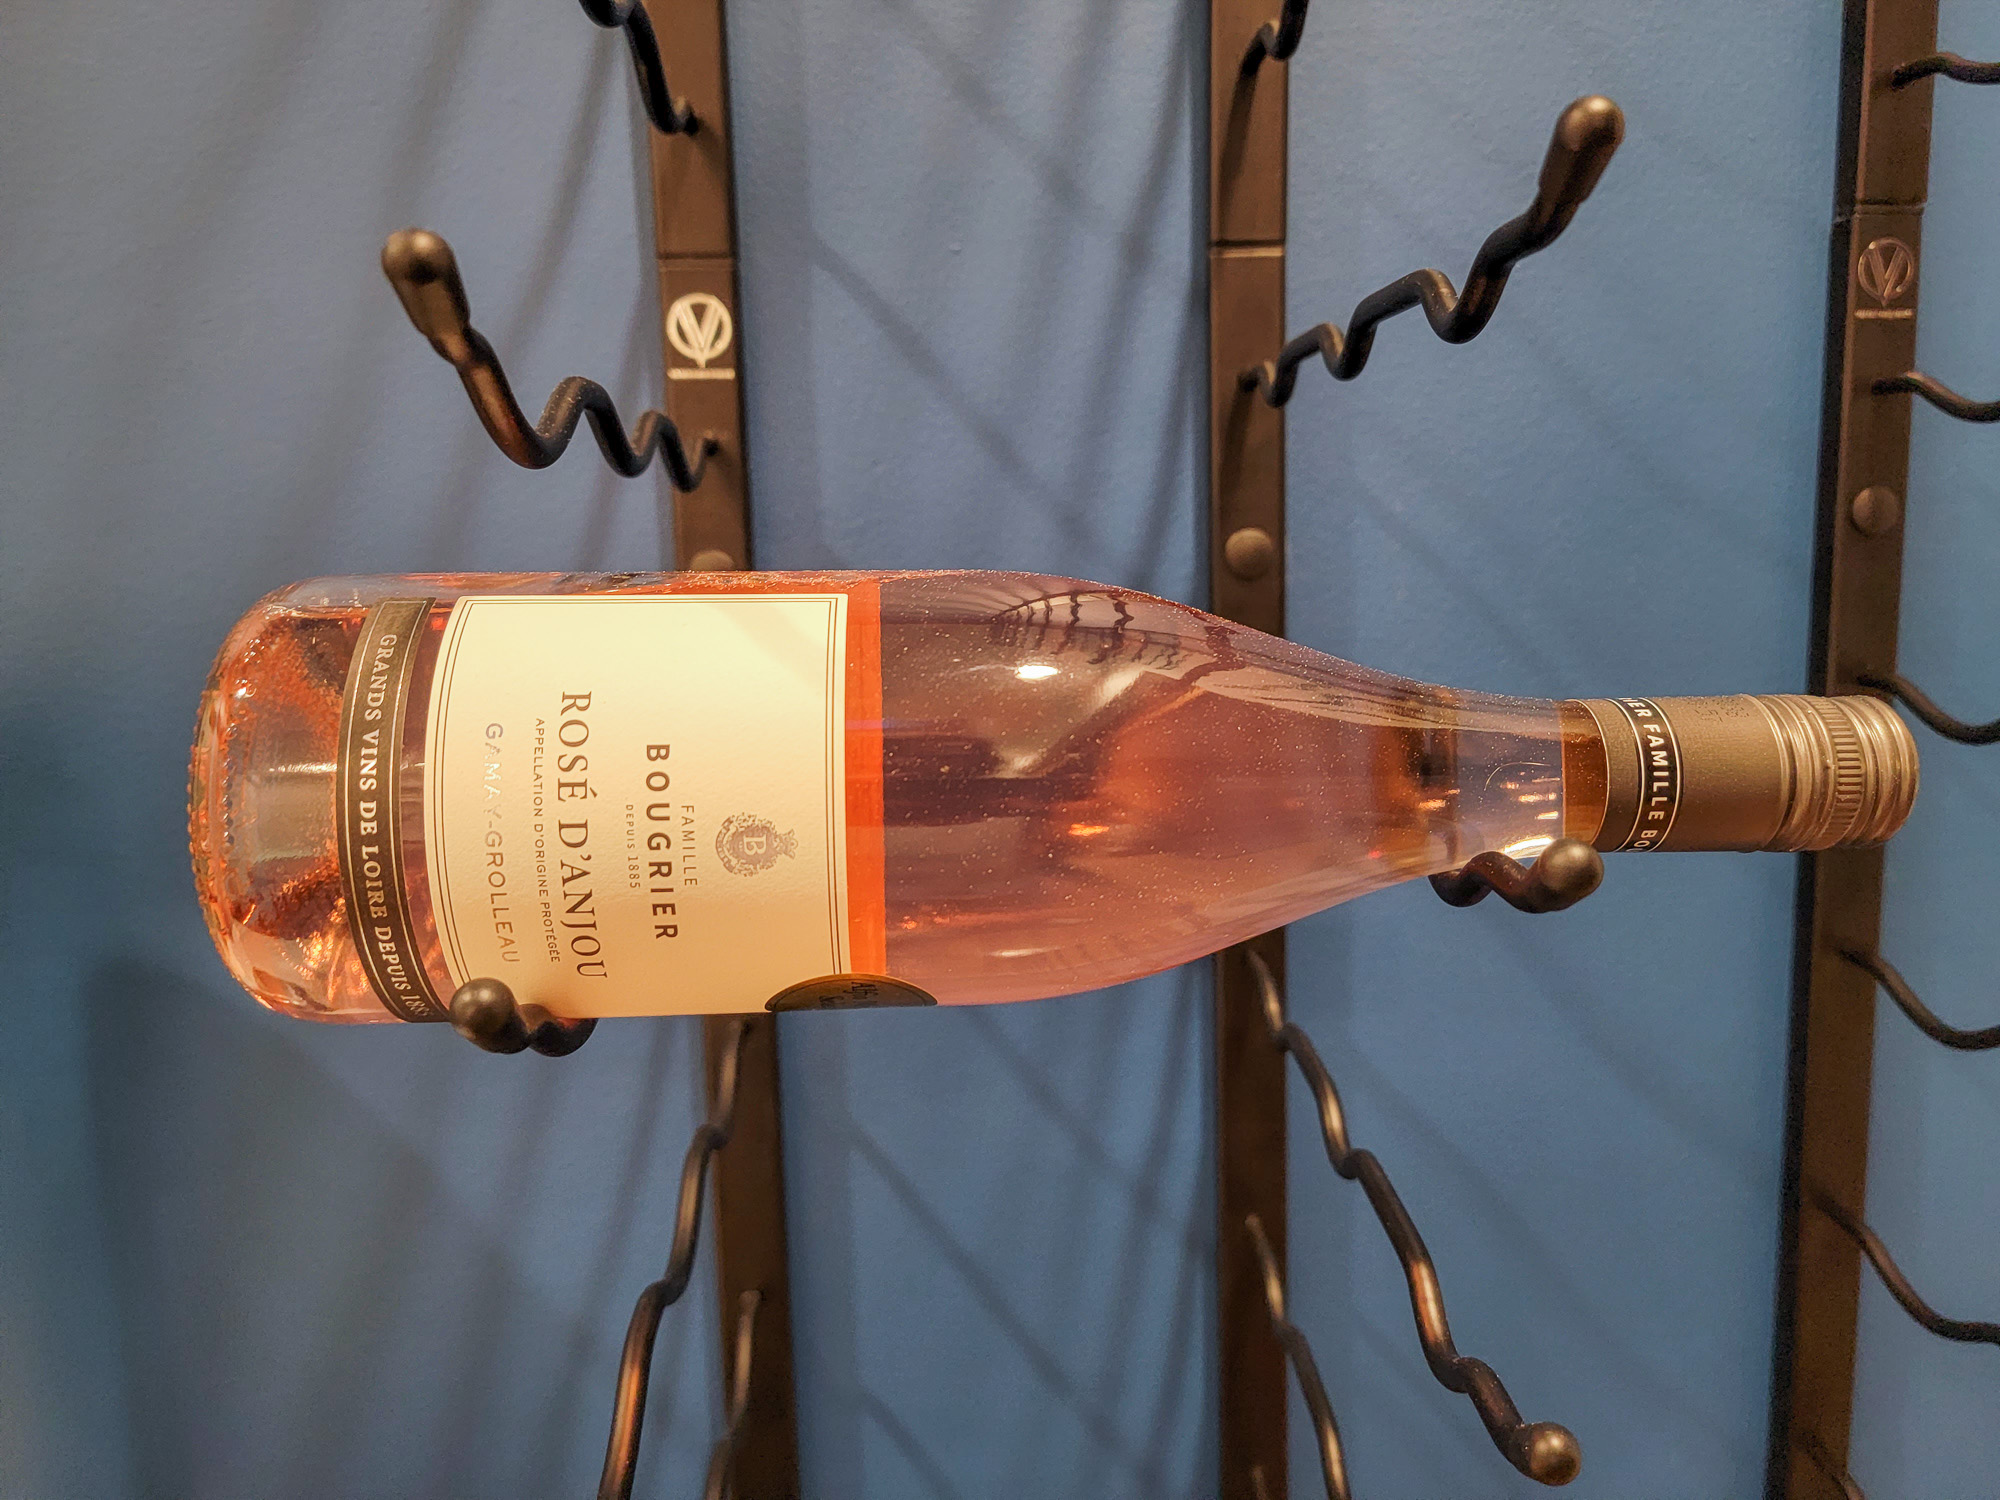
As we installed four racks, two stacked vertically and a second set horizontally (eight individual bars in total), I must admit the first bar within each “set” required the most effort- particularly around leveling. We measured the spacing from the wall and had to mark the placement of three holes for drilling. It ended up being a comical scene where I'd mark one, hit the rack that Angie was holding level, it would move, and then we'd start the process over for the next hole where I'd inevitably knock it out of place once again.
Our spacing did not allow us to mount into any studs, which would have made this experience far more manageable. We had to use the self-drilling drywall anchors on the bottom two holes and a toggle bolt for the top one, which, as you will likely surmise, gave us the hardest time in getting to catch and latch onto the drywall. After fighting with the first frame for what felt like an hour, the other seven were a (relative) breeze.
The bottom frame became an easy guide for the second rack that was stacked vertically. You slip the second rack on using the connecting piece, level vertically while holding the frame still (much easier than freehand!), mark the holes, and repeat the mounting process. For the opposing row within a set, you simply use a laser level, measure the prescribed distance away, mark your holes, do a sanity check for level (and adjust accordingly), and start the installation process over again.
Ultimately, as paranoid as I was about getting everything perfect, I have to admit that the distance between the two bars was less critical than mounting the racks vertically level. Most wine bottles likely would've fit just fine had we accidentally measured a bit off in either direction on these. Bigger and smaller bottles, obviously, have a greater tolerance for any given rack, but there was some wiggle room there.
As such, be especially careful to get the installation correct vertically, especially on your very first bar, and the rest will likely fall into place a bit easier.
- Note: We installed ours as tight as we could to the nearest side wall (particularly to get as far away from our radiator as we could); however, we found out that no walls in a Pittsburgh house are properly straight such that the distance was a bit tighter at the top than bottom. If we were able, we would've added a couple more inches from the nearest wall for buffer.
- We also spaced out our second set of racks a few more inches apart than the recommended minimum. The aesthetic still looks great here and gave us additional buffer in the event we were off in measuring. If you are able, we'd always advocate for spacing out multiple racks just a bit more than the recommended minimum.
- We had to use a power drill, laser level, measuring tape, spade bit (to make the hole for the toggle bolt), and screwdriver for this install.
- If any of this sounds daunting, or you have never installed something with a particular bolt or bit before, the manufacturer's tutorial video was incredibly helpful. Watch that first!
Overall, we really love our VintageView wine racks and now are going to be loading up with a collection of daily drinkers!
To check out VintageView wine rack options, click here.
Upgrade Your Home Wine Bar
Need to upgrade your wine bar? Grab some new wine accessories:

