Published by Jeremy.
Disclaimers: We use demographic data, email opt-ins, display advertising, and affiliate links to operate this site. Please review our Terms and Conditions for more information. This website is intended for those of legal drinking age in your jurisdiction.
When it comes to learning how to taste wine properly, there are an untold number of approaches out there.
You can go to the extreme and research the bottle/wine region in great detail to know what the wine is supposed to be like (all before even opening a bottle). You can follow one of a nearly infinite number of structured tasting approaches taught around the world. Or you can simply wing it and just dive right in without rhyme or reason.
The good news is there really is no wrong way to taste wine insofar as you actually drink what is in the glass in front of you.
But for those who want to really stop and appreciate what is in their glass, some of the structured methods are perhaps the most fascinating. So in this one, we wanted to talk about these wine tasting techniques in greater detail!
How to Taste Wine – The 5 S's and Systematic Tasting
For those who are just getting into wine, the most common wine tasting approach you'll likely be told again and again is simply to remember The 5 S's of Wine Tasting– see, swirl, sniff, sip, and savor. This is a beginner approach to evaluating wine compared to more structured formats, like WSET's Systematic Approach to Tasting. That being said, the premise of both is the same as you engage in five core steps:
- Step 1: See – Look at the appearance of the wine and see what it tells you.
- Step 2: Swirl – Swirl the glass to let aromatic notes come out.
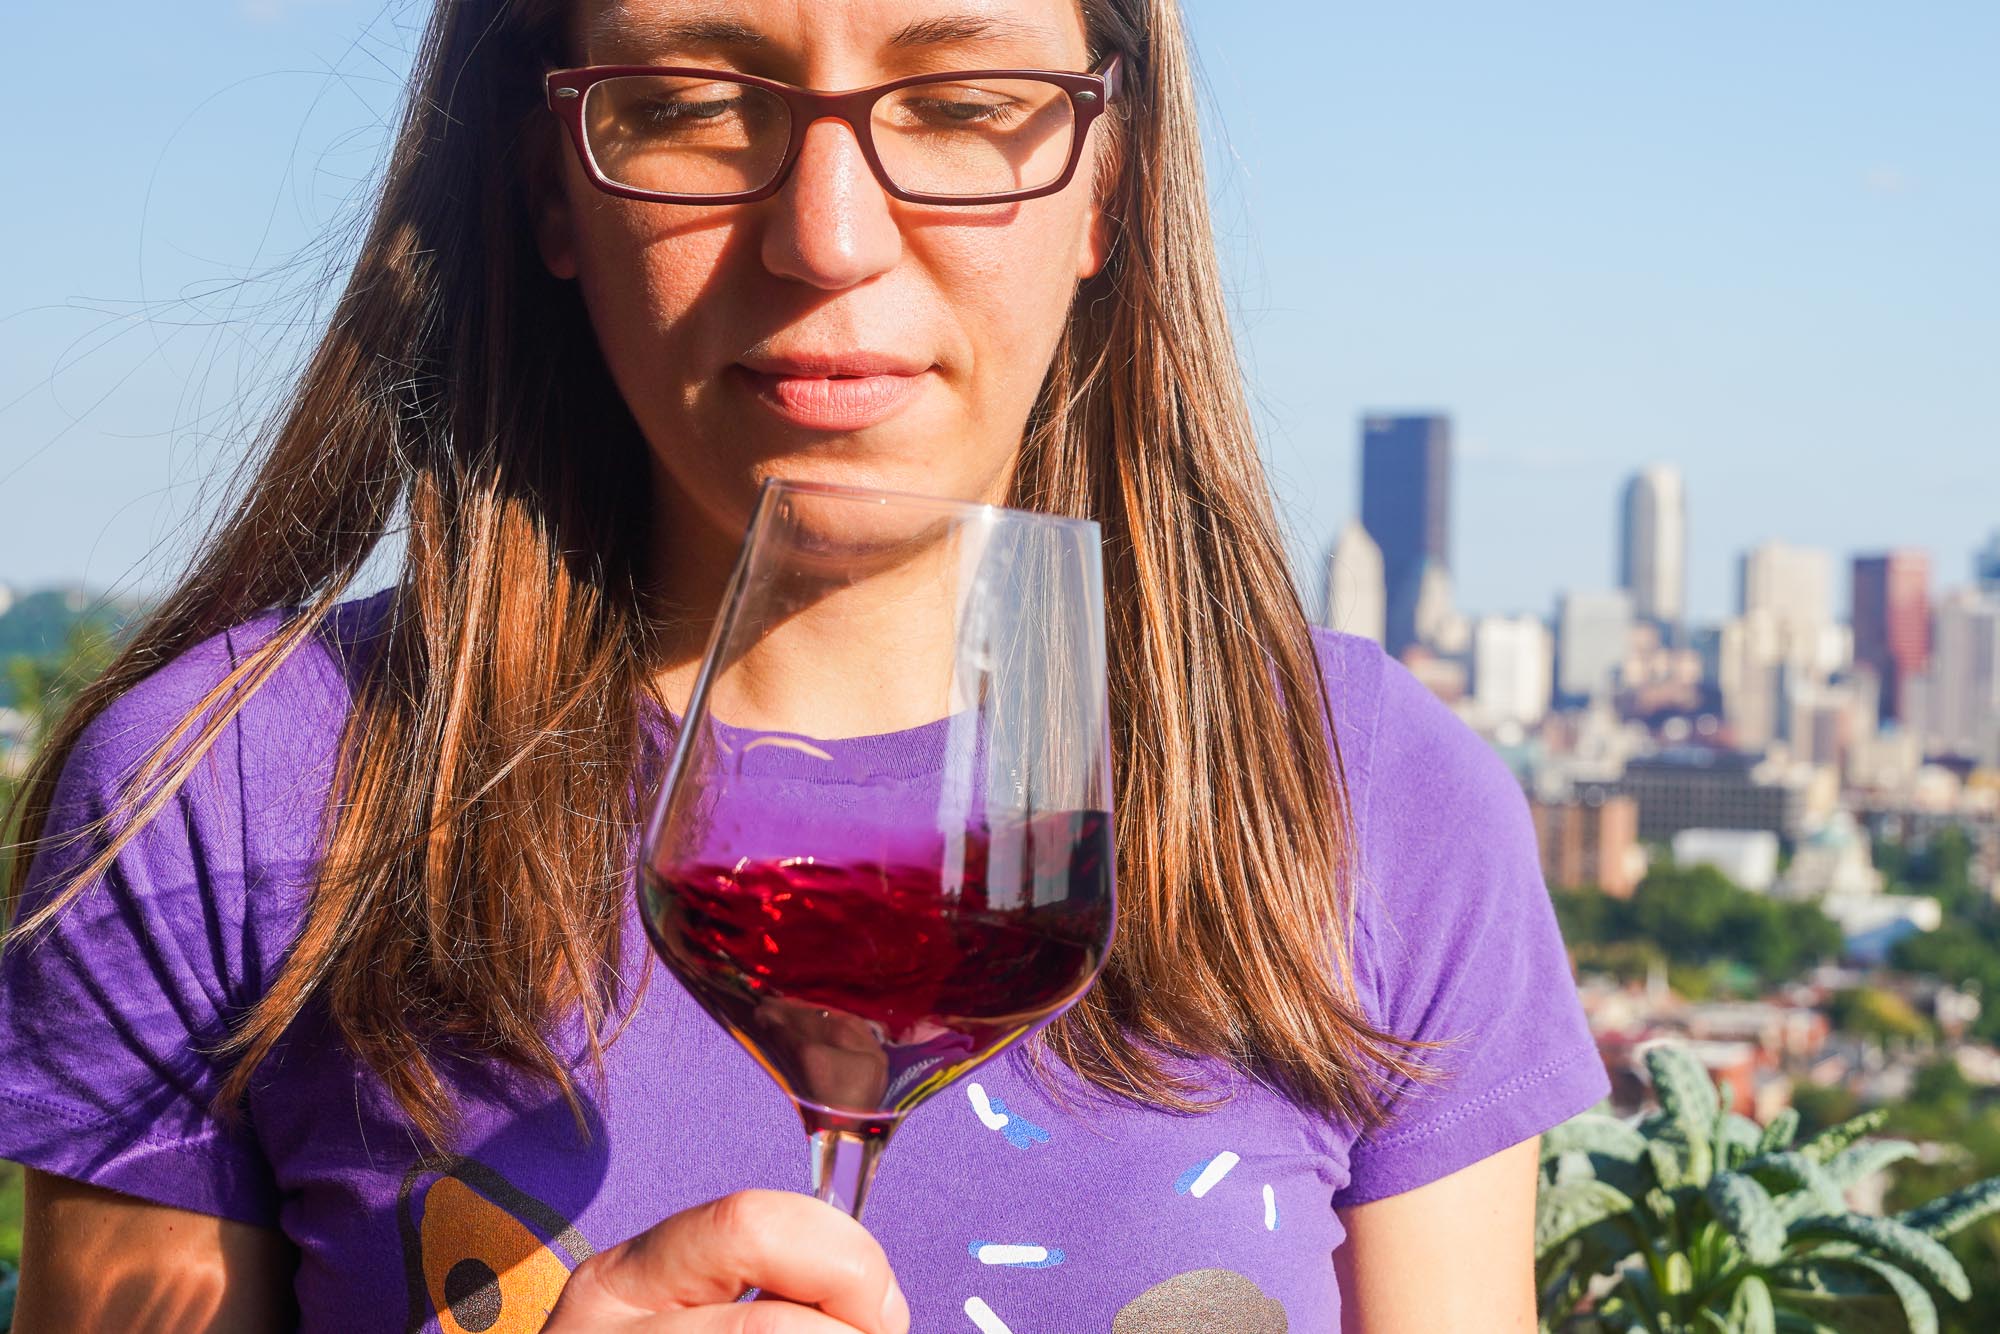
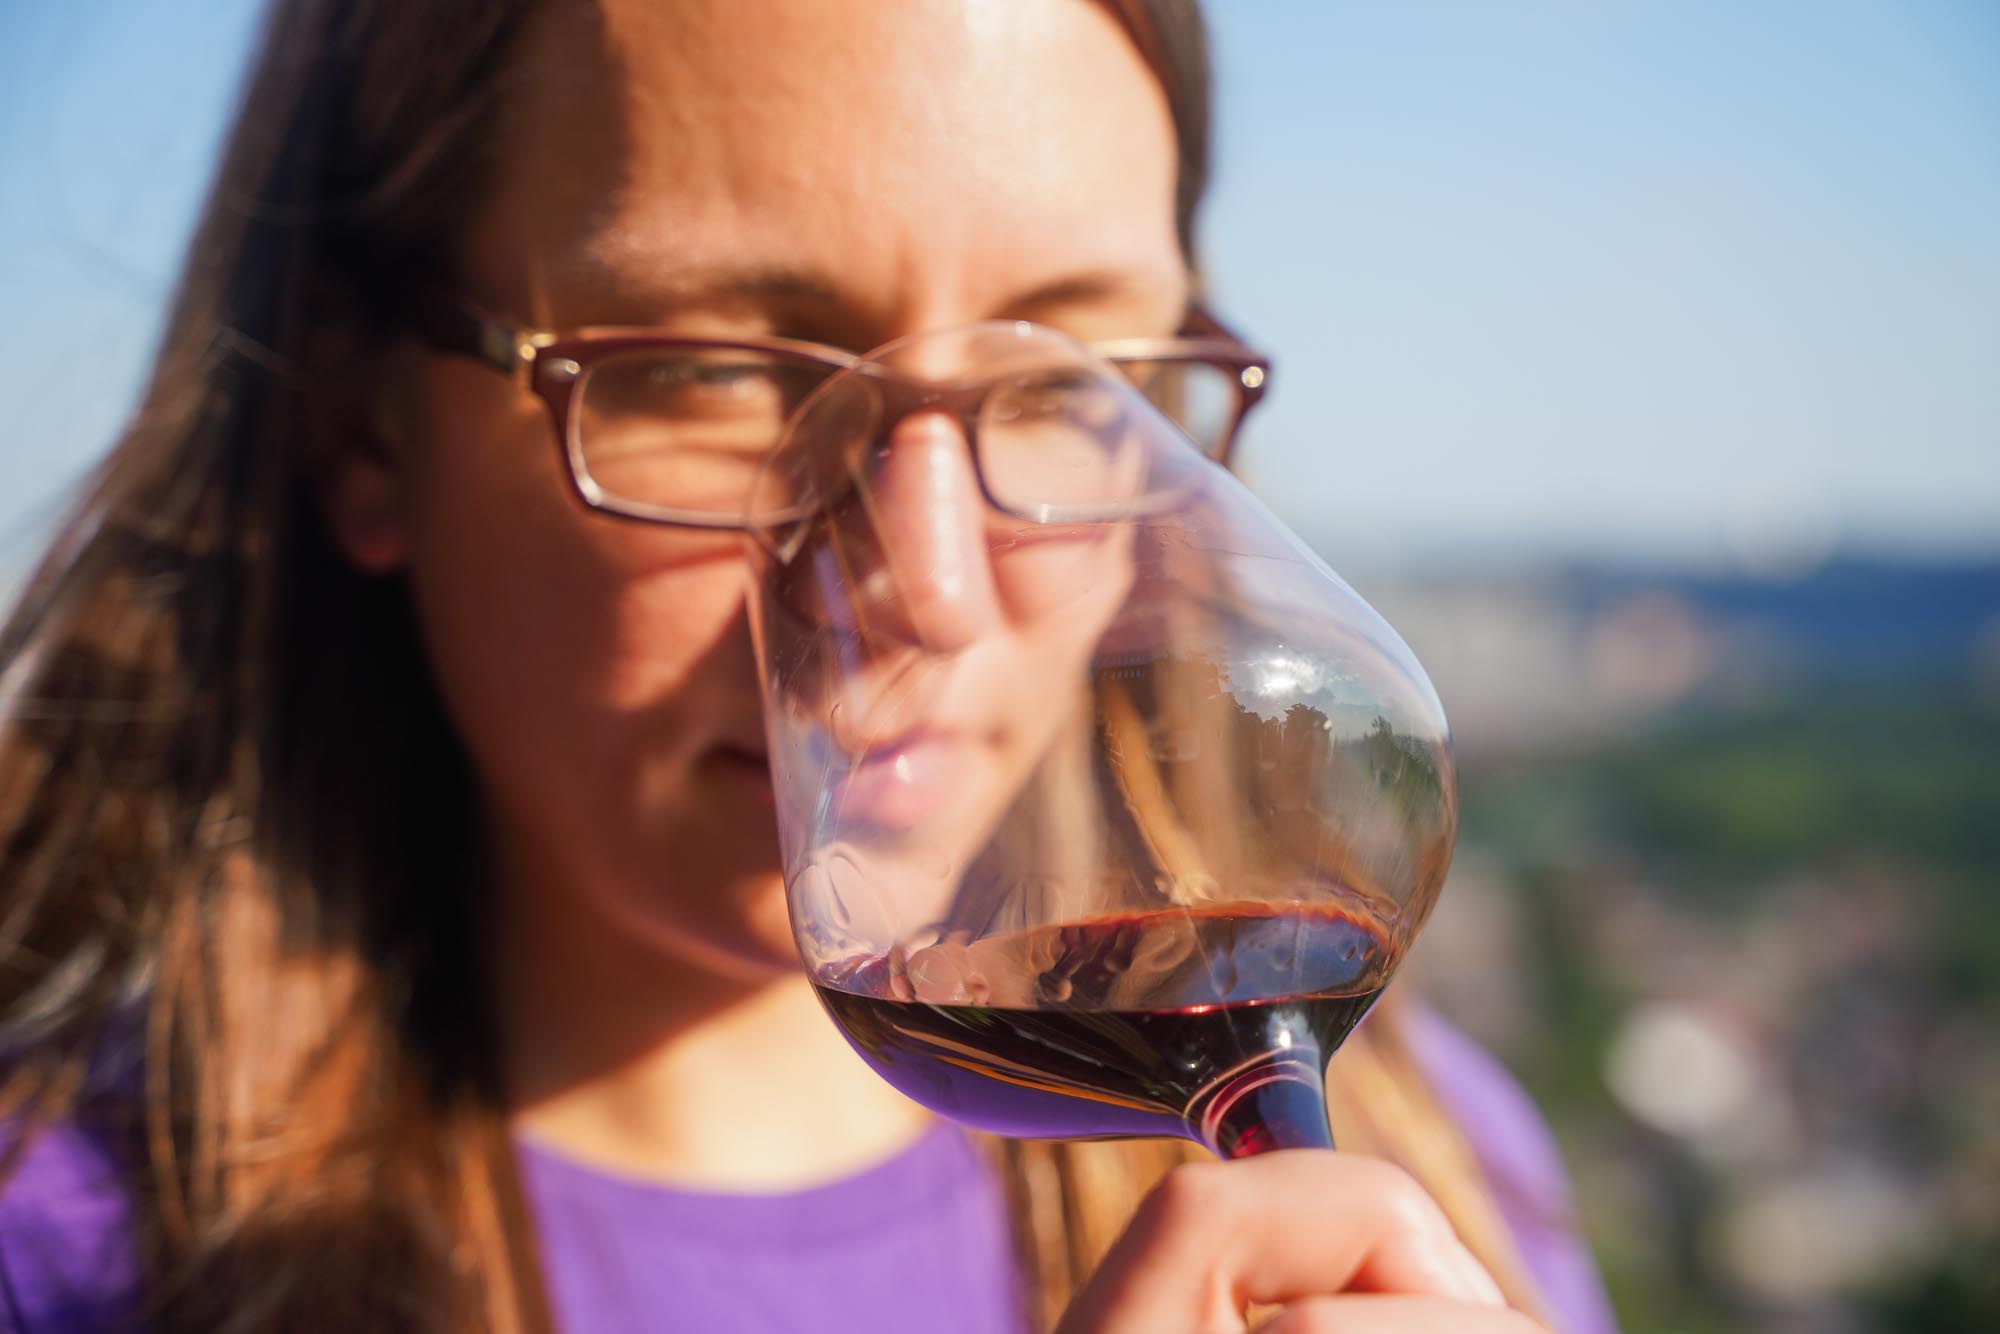
- Step 3: Sniff – Smell the wine and see what scents you can isolate.
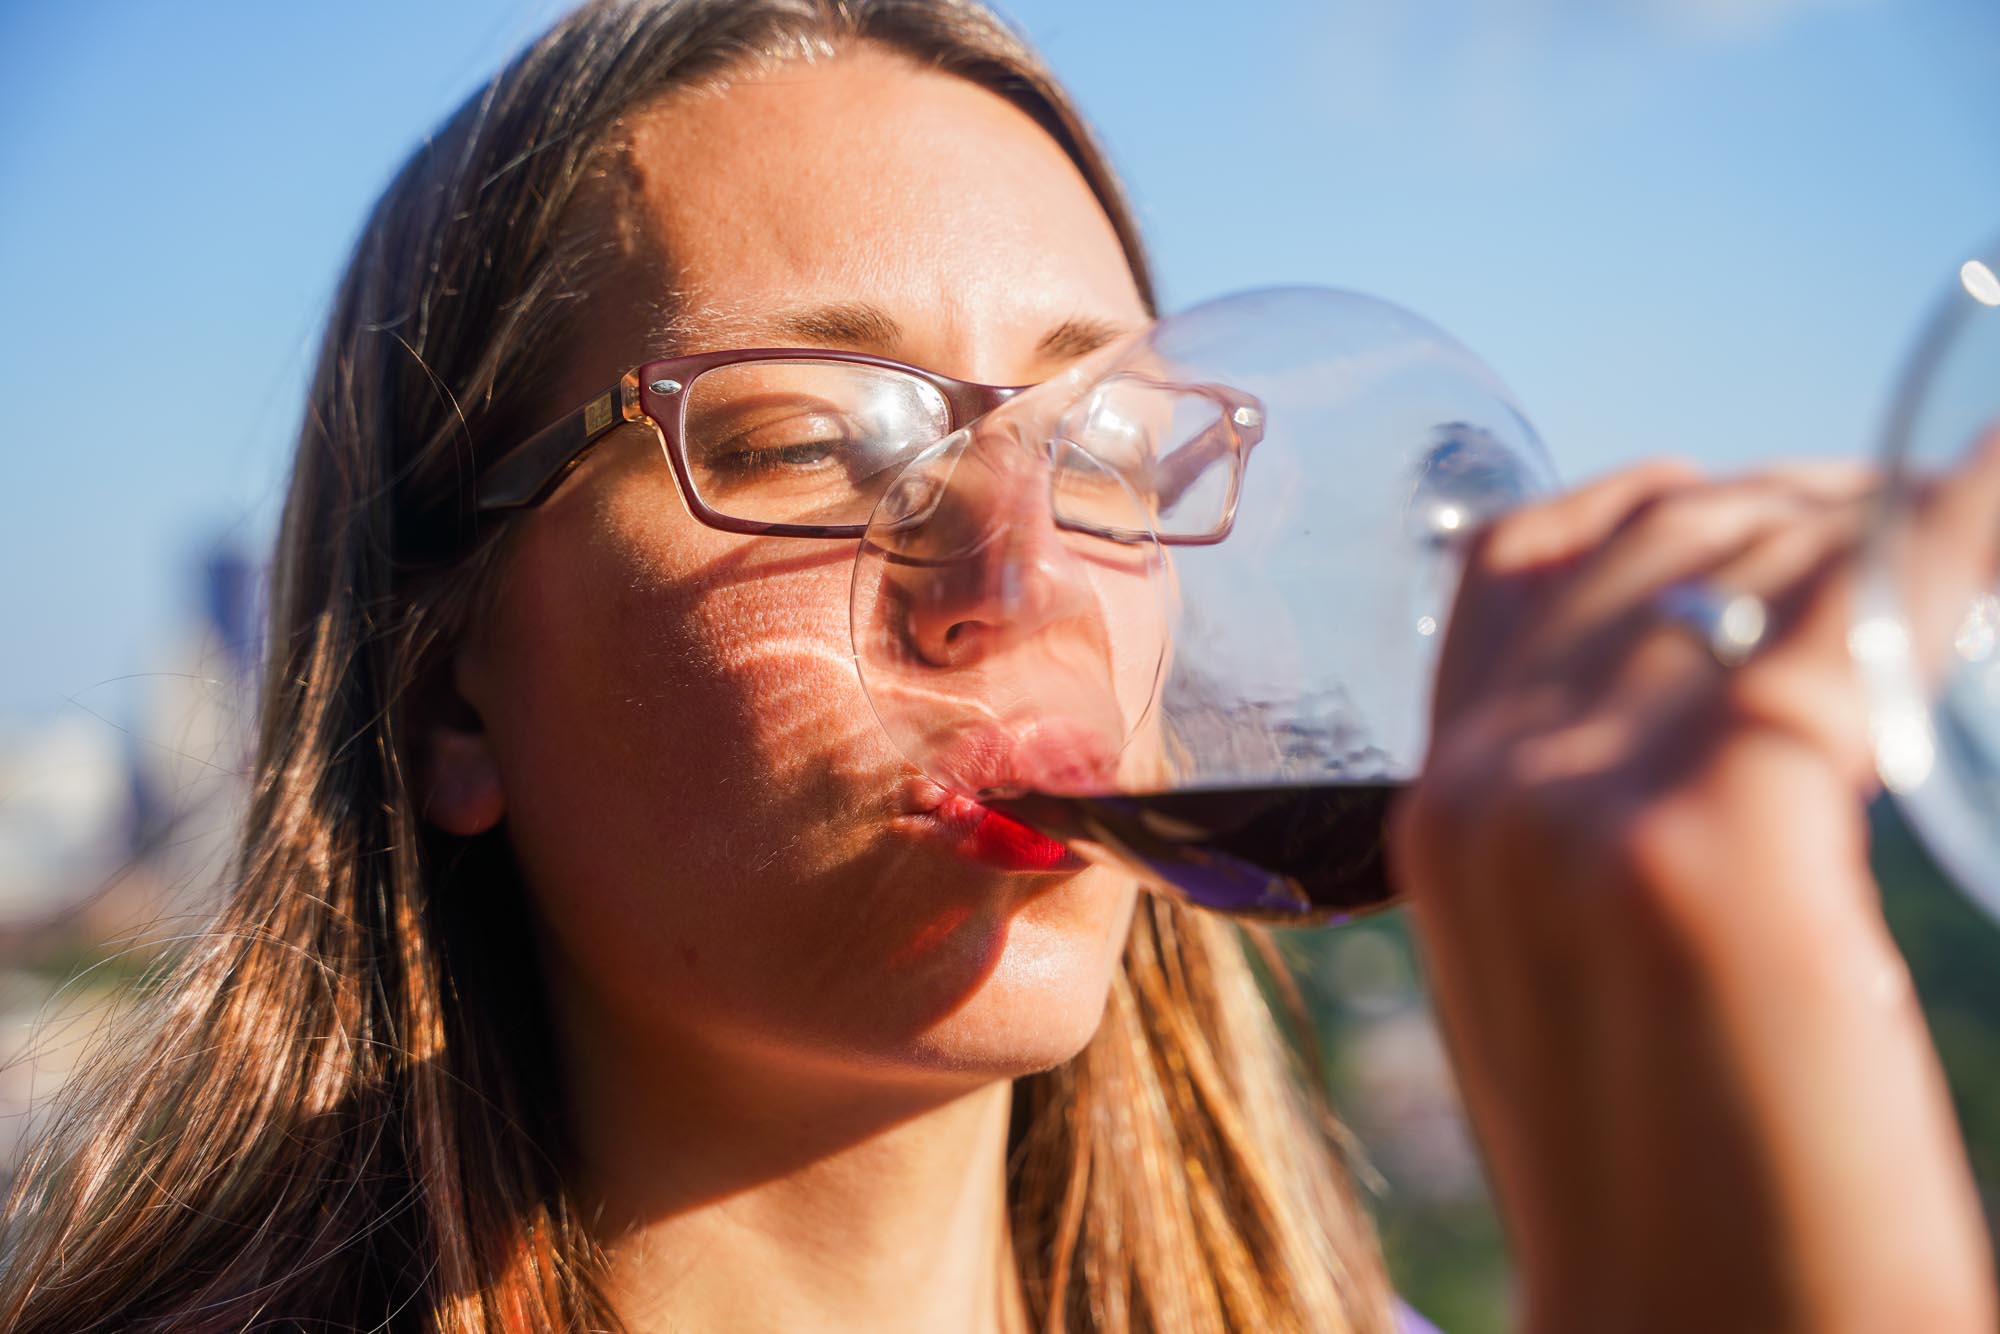
- Step 4: Sip – Taste the wine and think about components like acidity, tannin, flavor, and more.
- Step 5: Savor – Sit back and reflect on what you just tasted, thinking about how these components balance each other and result in the final quality of the wine.
When evaluating wine, these five steps cover all the basics. You want to know what the color is, what the aromas are, what the flavors are, and how that all of it works together- good, bad, or otherwise.
But as we are WSET students and hardcore wine nerds, we thought we'd elaborate a bit more of how we personally taste wine using a modified version of WSET's Systematic Approach to Tasting. But instead of leading you through the tasting grid outright, which you can learn if you sign up for a class like WSET Level 2, we thought we'd expand a bit more on the 5 S's of wine while weaving in a bit of WSET's structured approach for those who want more detail than the above (you'll have to take the class if you want every little piece of information there, and we highly recommend it).
For this one, we're also going to discuss this under our thought process for blind tasting. You very much can read the label, read up on the grape, or check out a full tech sheet of a wine to learn what to expect ahead of time if you want. We're just going to talk about the why factor a bit which is most important for when you don't know any detail about the wine at all!
Step 1 – See
The first step of the 5 S's is See– or looking at your wine. While we primarily are looking for color intensity and the hue of the wine itself, you can also glean more information when inspecting a wine on if there are bubbles, how the legs develop (possibly indicating sugar and alcohol content, but best done after a swirl- step 2), if there is any sediment (and what that is made of), and more.
For those who are really into wine, the color and intensity (how opaque the liquid is) can tell you broad details about the grape. More intense wines may have had pigment-rich skin (cueing specific grape types) or long contact times (indicating a winemaker choice). Color can help limit down options as well, as red wines are made from red grapes and white wines are, for the vast majority at least, made from white grapes (one could argue only some grapes make lemon-colored wines whereas others make gold wines, too).
These are obviously the basics, but you can also glean a bit about a wine's age when looking at it as well. In WSET lexicon, for example, amber and garnet colors both indicate that the wine has been aged oxidatively, which typically is only achieved through time in the bottle. These could be on the order of just a few years, but those that push brown or tawny respectively may be aged decades or more.
- Fun Fact: Malbec is known for typically having inky legs, whereas most wine legs are pushing clear. I was at a wine tasting once where I was told the grapes but had to guess based on a few context clues (primarily aromas) and saw one glass was completely stained from the legs and guessed it was the Malbec simply from the appearance. This trick is not foolproof though, so we're keeping this as just a fun fact.
Step 2 – Swirl
Step 2, Swirl, is not just gratifying or something you do to look cool; there is one key purpose for this- to release aromatics into your glass.
When you swirl your wine, the surface area of the liquid increases, aroma compounds come out, and if you have a correctly shaped wine glass, you are then able to proceed to Step 3, Sniff.
But before moving on, we should discuss the perfect swirl! Here, we have to be honest in that any swirl will do as long as the wine stays inside your glass. But a swift, fluid motion (we twist our glass counterclockwise) that allows the wine to cycle three to five times should be plenty for most wines. Mess up? You can always try again.
Typically here most introductory level tasting guides will move you to the next step, but it is worth noting that swirling your wine is not the only way to get aromas to present themselves. Over time, these highly aromatic compounds may “burn off” in the sense that you can no longer smell them anymore. Another swirl may bring them out again (or a fresh pour can do the same), but the opposite tactic may also release more delicate aromas you may otherwise miss.
This often occurs when you decant a wine for tens of minutes or hours, but simply letting the wine rest in your glass for a few minutes can achieve the same result. Aromas like violet and cassis, for me at least, almost always become way more intense as a wine sits out longer, and if they are otherwise delicate upon first pour you may not catch them until your glass has been left undisturbed for five minutes, ten minutes, or more.
A fascinating thing to try at home, but especially crucial when you take wine tasting exams like WSET Level 3.
- Remember: During one of your swirls, let the glass remain still for a few moments and take a look at how the legs develop. Thin, spread out legs may indicate that there is no sugar in the wine (dry) or it is lower in alcohol where as thick, dense legs may highlight sugar, higher alcohol, or both! It is also worth noting not every one subscribes to this evaluation logic.
Step 3 – Sniff
Now that you've properly swirled your glass, you can put your nose over the wine and Sniff it. Here, we're looking for two key categories- intensity of aromas and the actual scents themselves.
Here, there are many strategies you want to consider. Some like to keep their nose a half inch above the wine glass and breathe in deep (with mouth partially open to allow for air flow). Others like to bury their nose deep into the glass. Some like to smell top and bottom at the edge of the bowl as aromas may accumulate at different spots. Some like to see how far away the aromas can reach their nose when the glass is away from their face. Others may do it all- and I am guilty of this one if only because I want to catch every scent I can get.
However you smell is honestly up to you, but at the end of the day, you are looking to see how intense the aromas are and what smells you can get out of the glass outright.
Understanding intensity is a relative thing, much like with color, but some grapes are known to be far more aromatic than others- helping you narrow down the grape if you were in a position of having to guess. Pulling out aromas are also cues. White grapes have their own set of aromas over red grapes, tropical fruits in a white grape may suggest a warm climate or a late ripening variety, and some wines are simply known for having key aromas that you may be hard-pressed to find in others, too. (Smell green apple and petrol? It is quite possibly an aged Riesling. Smell grass? Sauvignon Blanc is famous for it).
While these fine details are learned through reading wine books or taking structured classes, there are really three key categories of scents you can try and isolate- primary, secondary, and tertiary aromas.
Primary aromas are all things that come from the grape itself- think fruit, flowers, some spices, etc. Secondary aromas are all things that are influenced by the winemaker- think vanilla and cedar from the use of oak, yogurt or creaminess from malolactic fermentation, etc. Tertiary notes are all about age, either in the barrel or in the bottle- think leather, tobacco, nuts, etc.
Much like how the color can tell you a bit about the wine, thinking about the aromas help you piece together the puzzle just a bit more. Are you going to be able to guess a grape purely from the aroma like Master of Wines often do? No. I can't even do that outside of a few cases (like those mentioned above). But you will get one step closer in this analysis.
- Remember: You will also want to repeat all of this after letting your wine sit for a while, too!
Step 4 – Sip
Finally, the step we really like, Sip! If there is any step within the 5 S's that have the largest combination of processes and techniques, it is this one.
You can simply take a sip, taste it, swallow, and talk about the flavors of the wine. There is nothing wrong with that. More serious wine tasters may take a small sip, swish it around their mouth vigorously (covering all parts of the tongue, top of your mouth, and gum lines), and swallow, waiting a second for your tongue to become used to the new sensations, and then repeating the process with a larger sip before evaluating.
The reason the steps here vary considerably is that a lot is going on in a glass of wine. We are not just talking about flavors here, but sugar levels, acidity, tannin (if red), alcohol, body, and of course, the intensity of flavor plus finish as well.
As I said, there is a lot more to Sip over Smell!
Acid is perceived on the tongue and makes you salivate. Alcohol can be felt on the tongue, back of your throat, and elsewhere as a slow burn/heat (especially if approaching 15%). Tannins produce a drying sensation on your gum line. Body is the perception of how “full” the wine is (think soda vs water in terms of weight on the palate). And finish has to deal with how long you have a pleasant taste on your palate outright.
This is why it is important to get wine over every part of your mouth with a vigorous swish- you may miss a key element otherwise, and all of these go into helping you figure out characteristics of the wine that are quite important to determining what the grape is. This, of course, ties a lot into theory, so it is quite important for those who take classes over others. (The relationship between sugar, acidity, and alcohol, for example, can be highly specific to the individual grape- and there are 1,300+ wine grapes for sale out in the world! This is just one of many things serious wine tasters think about that we're going to gloss over in this one.)
So what if you don't particularly care for that level of detail? Honestly, this one is an almost identical process to the nose.
Primary flavors will be fruit, flower, and spices, secondary notes are all those influenced by the winemaker, and tertiary notes come out as bottles age. Whereas all of the elements above help you paint a more robust picture of the wine, there is also nothing wrong with only focusing on the flavor part because, let's be honest, flavors are why we drink wine to begin with!
Step 5 – Savor
The last step is to Savor your wine, and we'll be honest that we take a different approach to this one than the traditional 5 S structure.
The conventional approach is that savor is tied to the finish of the wine- determining how long the pleasurable feeling stays on your palate. For us, if a wine loses its flavor in one second, we call it short. If it holds on firmly for five or more, we call it long. The rest falls somewhere in between.
But in our own evaluation purposes, anything having to do with flavor falls under Sip. To us, savor is evaluating the wine outright.
In WSET, you learn an evaluation process that combines balance (how well the above components work together), intensity (self-explanatory), complexity (is it simple or really out there), and length (finish). The summation of these goes into evaluating whether the wine is poor, outstanding, or somewhere in between. Wine students are taught to take their own opinion out of this call, as you can have an objectively outstanding wine and still not like it for your personal tastes, and this is why we personally always review our wines on whether we're okay with it, would buy a glass, bottle, or case simply to add our personal opinion into things just a bit more.
For those who are simply tasting wine for fun, you can take a minute for some broader thoughts on this one. Are the flavors to your liking? Could it have more intensity or less? Is any component like acid, tannin, or alcohol overpowering? Could it use more of one category? Less? Have you had another wine of this style and noticed something different? Why was that?
These are things you can think to yourself within the savor category and will help you articulate why a specific component is to your liking or not, and ultimately that is the end goal of tasting wine outright.
After doing these steps it is time to sit back and enjoy your wine!
Want to Get into Tasting Wine at Home? Take Notes
Finally, for those who want to practice tasting wine at home over time, you should get in the habit of taking notes of all your thoughts when tasting using the above steps. So you'll want to have a notebook or a notepad file on your phone at hand for these as well (Vivino's app makes rating wines pretty easy, too!).
This helps you get in the habit of following a standardized process with every glass (be it the WSET tasting process or your own hybrid like the above) and really makes the process that much easier than this post would otherwise imply.
Personally, one of the reasons why we run this website at all is to have a place to keep all of our wine tasting notes that we can access on any device. Over time as we try more grapes, more vintages, and more producers, we can start comparing our notes between wines and get a better understanding of why we like one characteristic or may not have been fond of another.
Still, at the end of the day, whether you're serious wine people like us or simply want to learn a bit more about what is in your glass, going through our approach to the 5 S's will really help you stop and think about the components of the wine in front of you!
Do you have a favorite process of how to taste wine that is not mentioned above? Comment below to share!
Upgrade Your Home Wine Bar
Need to upgrade your wine bar? Grab some new wine accessories:

