Published by Jeremy.
Disclaimers: We use demographic data, email opt-ins, display advertising, and affiliate links to operate this site. Please review our Terms and Conditions for more information. This website is intended for those of legal drinking age in your jurisdiction.
When it comes to opening a bottle of wine with a corkscrew, there are a number of corkscrew varieties out there that will get the job done (read our guide to some of the most common ones at the previous link). These often range in quality, price, and of course degree of difficulty in removing the cork from a wine bottle.
Our favorite tool to open a bottle of wine is the simple waiter's corkscrew. We've used dozens of these over the years, and while there is an initial learning curve we absolutely love how easy this tool makes opening a bottle.
Today, we wanted to share the steps to open a bottle yourself.
Anatomy of a Waiter's Corkscrew
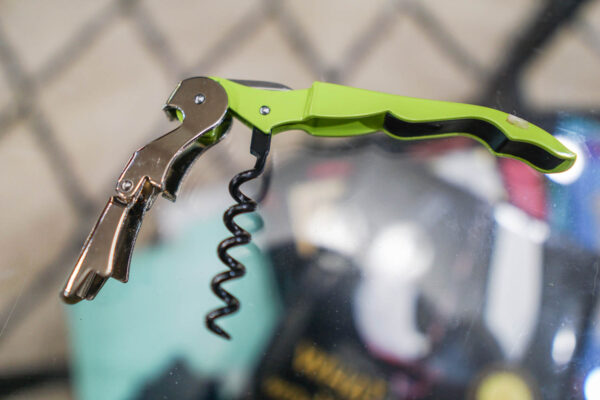
Most waiter's corkscrews have four key parts- the screw/worm (center), the handle (right), a foil cutter (top center- folded in), and a boot lever (left). Some also have a bottle opener built into the handle, but this often does not come standard.
The screw is the piece that twists into the cork to remove it. The boot lever rests on the lip of the wine bottle to help provide leverage when removing (and the best ones have two sections separated by a pivoting hinge). The lever is the part that you hold and provide the force to remove the cork. The foil cutter is often our least used element of a corkscrew as it is a very small serrated knife that is used to remove the foil from the bottle.
First, Remove the Foil if Present
If the neck of your bottle of wine is topped with a foil that is covering the cork, you first need to remove this. There are, admittedly, a number of options you can choose from here that will all get the job done.
Some bottles have a small tab that can peel off a ring of foil around the neck of the bottle. This is, of course, the easiest option if your bottle features it. From there, if you want to go quick and dirty, you'll likely find that the foil itself is somewhat loose on most bottles (most of our bottles fit this category). It may be uncouth, but with a firm twist odds are good you could pull the entire foil wrapper off the top of the bottle in one motion.
If your bottle doesn't fall into either of these categories, you will need to use your foil cutter.
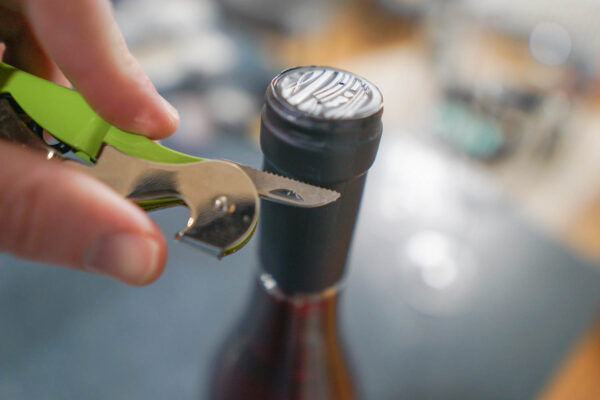
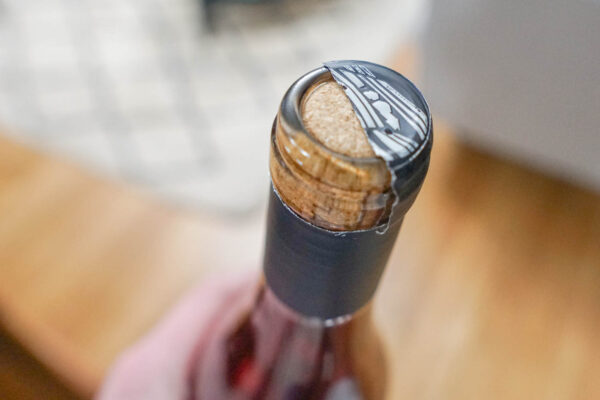
In a professional capacity, the proper technique for using the foil cutter is to cut the foil a full 360 degrees just below the lip of the bottle to start (see the first photo in this section). Some people like to work their way around the bottle in one motion, pulling the knife across the neck. Others like to do one side and then rotate the bottle to the other side.
No matter what technique you follow, watch your hands here. The foil cutter may be small, but it is still a knife- and since the bottle is curved it is easy for the blade to get away from you. We find we have more control doing this is in a pulling motion as opposed to pushing forward (so the blade should always be moving backward from the direction the tip is pointing).
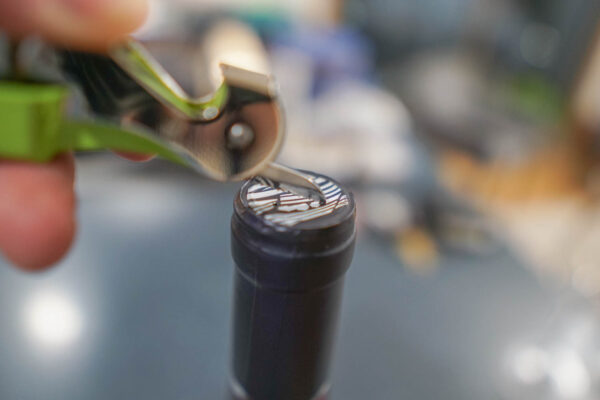
From there, you'll likely find that the foil doesn't release from the bottle with this cut alone. If this happens, you'll want to make a vertical cut on opposing sides of the foil as well as a cut across the top to connect the two (see image above). This should allow the foil to be pulled away easily in two separate pieces while still looking aesthetically pleasing.
You may also find this is far too many steps. An alternative here is to use the blade cut a hole in the top of the foil directly (above the cork) and peel it off as it comes apart. We've done this on many wine bottles and sometimes find that the foil peels away in a perfect circle on the top of the bottle only. Sometimes it doesn't though, and we simply commit to peeling off the foil all the way down the neck.
As we said, there a number of options here. Really, which one you choose depends on the situation and how professional you want to look when doing so. When serving wine just for us (which is the vast majority of cases), I have no problem just ripping the foil off with my hands if the packaging allows for it.
No one has to know.
How to Remove a Cork with a Corkscrew
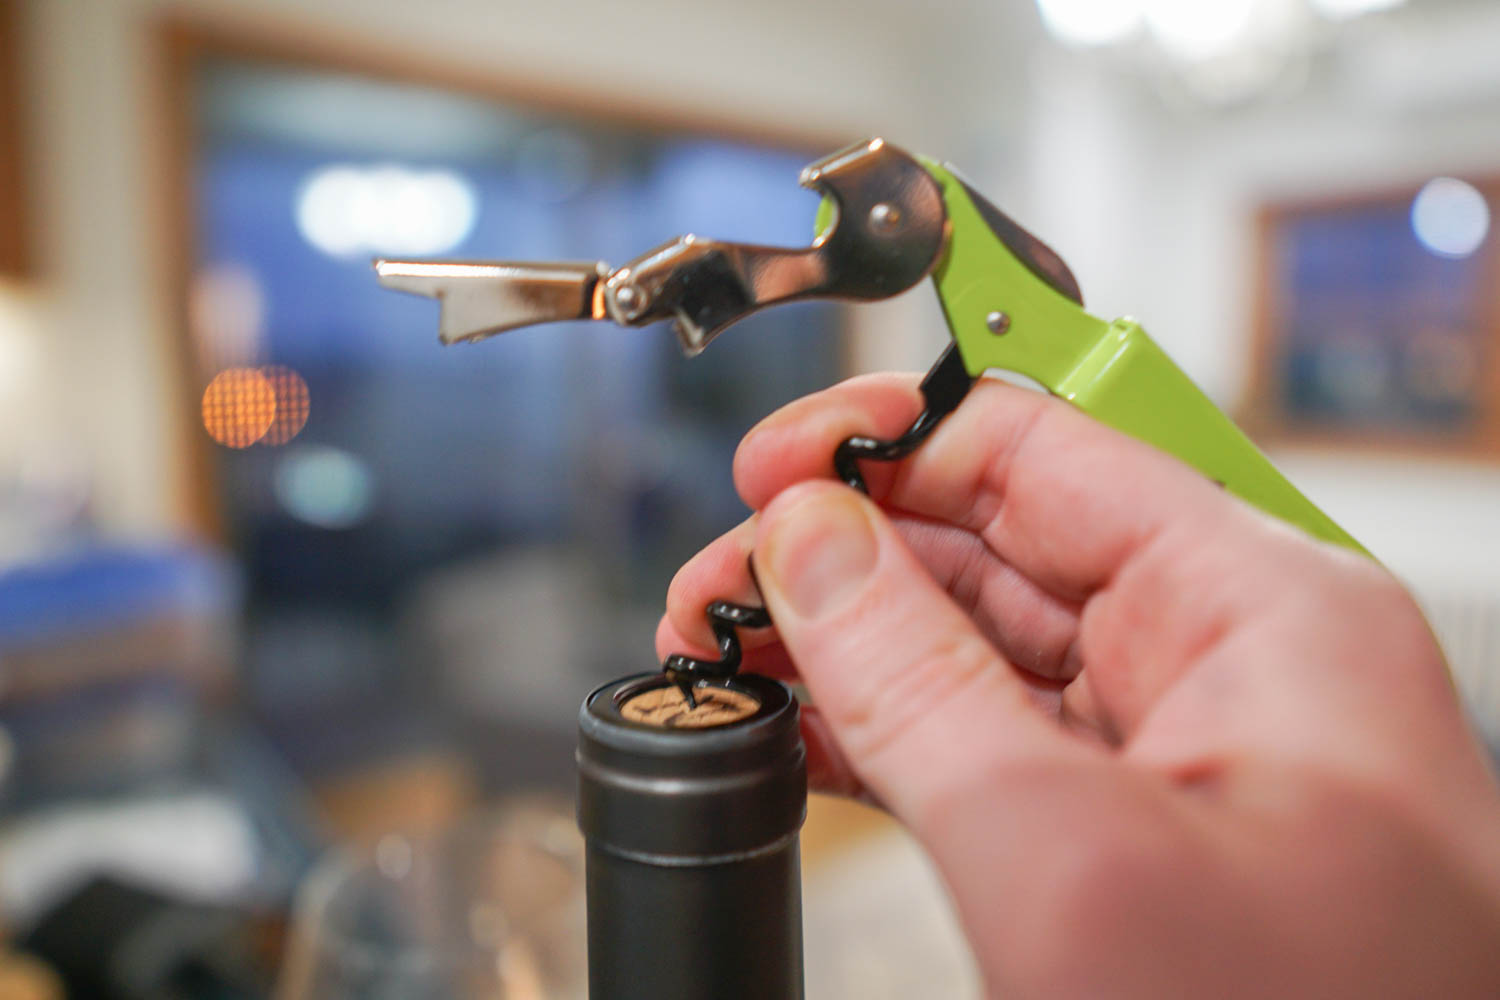
In many cases, removing the foil may be the hardest part. To start removing the cork from a bottle of wine, you need to insert the tip of the screw into the cork.
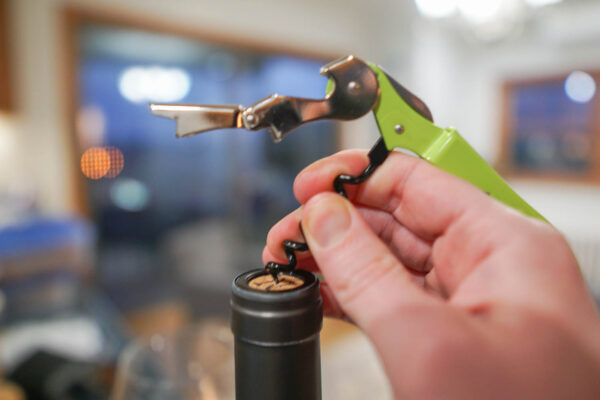
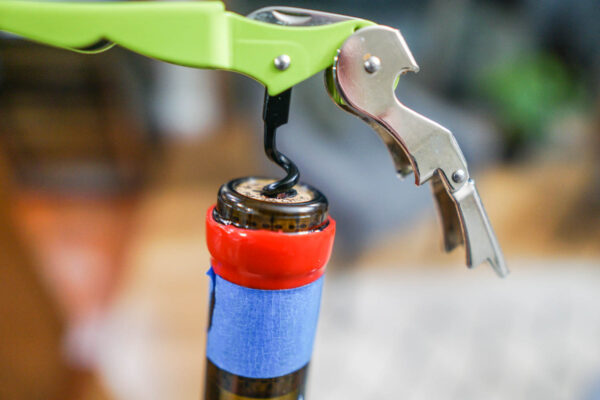
Rather than orienting the corkscrew in-line above the top of the bottle, we like to angle it roughly 30-degrees off-vertical and gently push the tip of the screw into the exact center of the bottle (see above). This lets us get a bit more control in ensuring the screw goes in exactly where we want it. Once it is in a millimeter or so (read: not very much at all), we gently raise the entire corkscrew back to vertical and begin to twist it into the cork until just one spiral of the screw is visible (see below).
This is our reference point for two reasons:
- This position should not penetrate the bottom of the cork which would risk cork bits falling into your wine.
- It is generally the perfect position for the first boot to hit the lip of the bottle of wine.
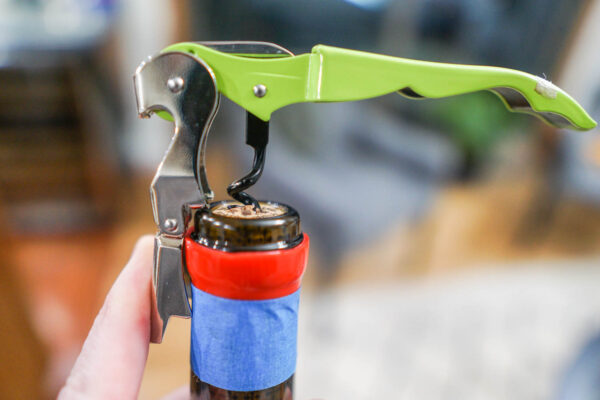
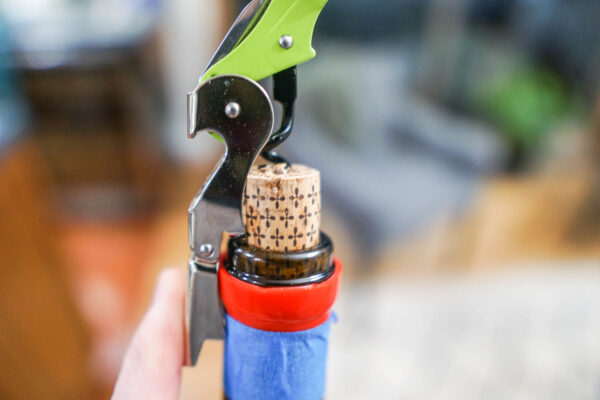
If you have a corkscrew that has two boots with a hinged element, you'll then want to orient the corkscrew such that the higher boot (the one closest to the handle) rests on the lip of the bottle (see above). Based on the screw position above, this may be somewhat snug.
From here, you'll use the first boot to help provide a bit of leverage to pop the cork free. This is sometimes easier said than done and may require both hands (one to put pressure on the handle and another to hold the boot in place). You'll be pulling up on the handle, but pushing down on the boot, and if the cork is especially stuck you may need to wiggle/rock the corkscrew a little bit as well to loosen it up. This sounds tricky, but you'll get the hang of it within a bottle or two.
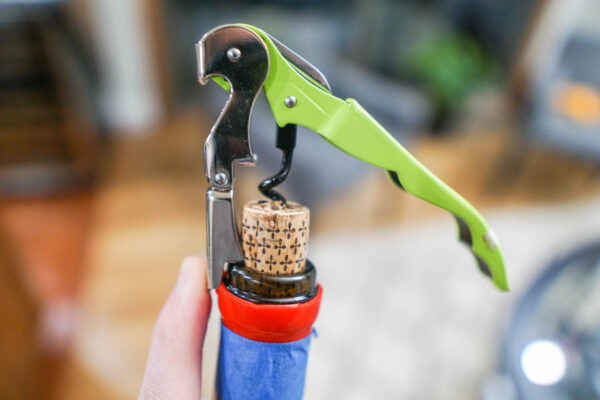
This first movement is to not remove the cork completely, but instead pull it out about 20-25% of the way. Once you get there, you'll likely find that the first boot does not want to rest on the lip anymore (see above). Pivot the corkscrew to allow the second boot to rest on the lip of the bottle (if it cannot fit on there, you've likely not pulled the cork out enough at the first position).
Repeat the process like you did to break the cork free, and if you've done it right the cork should slide right out. When you get good at these steps, it will all be done in just a couple of seconds.
Like was mentioned earlier, how far you insert the screw into the cork will dictate how easy this is. If you insert the screw too far, apart from possibly breaking the cork you may not get the boots to rest easily on the lip. If this happens, you'll likely have trouble applying the correct leverage. If you don't insert the screw enough, you may not be able to pull the cork out in one fluid motion in the second step. And, of course, if you don't insert the screw straight this may cause any of the above issues, too!
If you are not used to opening a bottle of wine with a waiter's corkscrew, this may sound like a number of ways for it to go wrong- and you'd be right. But after you practice on a couple of bottles you should find it becomes second nature- at least it did for us!
Just be sure you are using a waiter's corkscrew that has two boots with a hinged element in between like ours. This provides extra flexibility and makes opening a bottle of wine significantly easier. Our first waiter's corkscrew did not have this, and to be honest we hated using it because of this reason alone. Once we got a new corkscrew with this element, it really made a big difference and made us converts.
That's it- now go enjoy your wine!
Do you have any special techniques for opening a bottle of wine with a corkscrew? Comment below to share!
Upgrade Your Home Wine Bar
Need to upgrade your wine bar? Grab some new wine accessories:

